As an all-in-one package, RetroPie works seamlessly with Raspberry Pi to create a retro gaming console like no other. Its unique concoction of emulators allows you to indulge in a wide array of classic video games, making it the perfect single device for retro gaming fans.
In this RetroPie Sega Saturn setup guide, we look at all the steps required to play Sega Saturn games on your Raspberry Pi.
Whilst Sega Saturn emulation is possible on the Pi, it’s worth noting that it is not optimized particularly well, lr-yabause emulator performance is not great currently, so I would recommend using at least a Raspberry Pi 4 for the best possible experience, although be sure to manage your expectations on performance, as some games do run better than others.
Requirements
- A Raspberry Pi
- Download and Install RetroPie – Download RetroPie Here
- A keyboard and mouse – If you plan on using your Raspberry Pi to download BIOS files and ROMs
- Sega Saturn BIOS Files – You will need to obtain yourself a Sega Saturn BIOS file for use with the lr-yabause Sega Saturn emulator, this file needs to be renamed to ‘saturn_bios.bin‘ in order for the emulator to recognise it
- Have at least one Sega Saturn game ready to test – These can be .cue .bin .iso or .mdf files
- To play games on RetroPie you will of course need a controller – The 8bitdo Pro 2 Bluetooth Controller is one of the best RetroPie controllers and an excellent all-arounder for emulation and can also be connected by USB for even better performance in terms of latency
Step 1 – Boot RetroPie & Download Sega Saturn Emulator
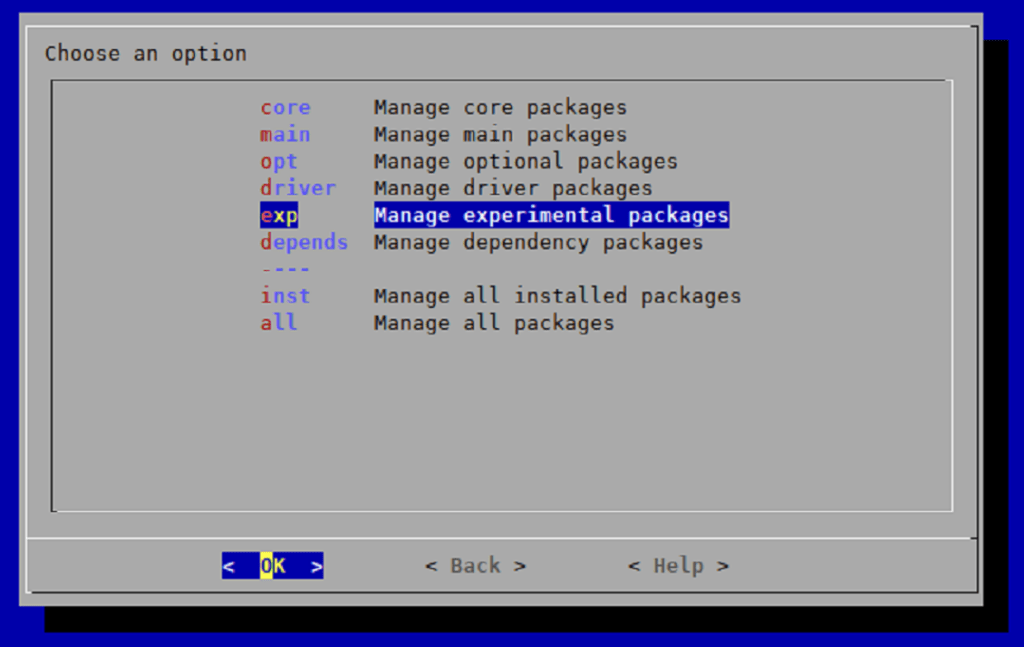
- Go to the RetroPie options menu and select ‘RetroPie Setup’
- ‘Manage packages
- ‘Manage experimental packages’
- Scroll down and select ‘lr-yabause’
- Finally, select ‘Install from pre-compiled’ binary’
- RetroPie will then download and install the Sega Saturn emulator
- Navigate back through the menu and then select ‘Exit’
Step 2 – Copy Sega Saturn BIOS File To ‘bios’ Folder
You will now need to copy your Sega Saturn ‘saturn_bios.bin‘ file to the RetroPie BIOS folder.
There are a couple of ways you can do this, the first is to use your Raspberry Pi to download the BIOS file and copy it to the BIOS folder location, or remotely access your Pi from your PC.
Using Your Raspberry Pi To Download BIOS File
In order to access desktop mode on your Raspberry Pi RetroPie installation, you will need to make sure you have the ‘Pixel’ desktop environment’ installed. This is easy to do.
Simply access the RetroPie options screen and select ‘RetroPie Setup’.
- RetroPie Setup (Access this from the RetroPie options menu)
- Configuration / Tools
- Raspbian Tools
- Install Pixel desktop environment
Once the Pixel desktop environment has been installed, reboot your Raspberry Pi and then you can access desktop mode by scrolling in RetroPie to ‘Ports’ and then selecting ‘Desktop’.
This will then boot to desktop mode where you can access the Pi’s directories and files like a normal PC.
You will then need to copy your Sega Saturn BIOS to the below location, ensuring it is named ‘saturn_bios.bin’.
/home/pi/RetroPie/BIOS

Remotely Accessing Your Pi From A Windows PC
If you have a Windows PC available, then this is the easiest way to get files across to your Raspberry Pi.
First of all, ensure that your Raspberry Pi is connected to the same network as your PC, then open up Windows file explorer and type ‘\\retropie‘ in the address bar.
Ensure that your Pi has been switched on for a minute or two as it sometimes takes a little time to appear on the network.
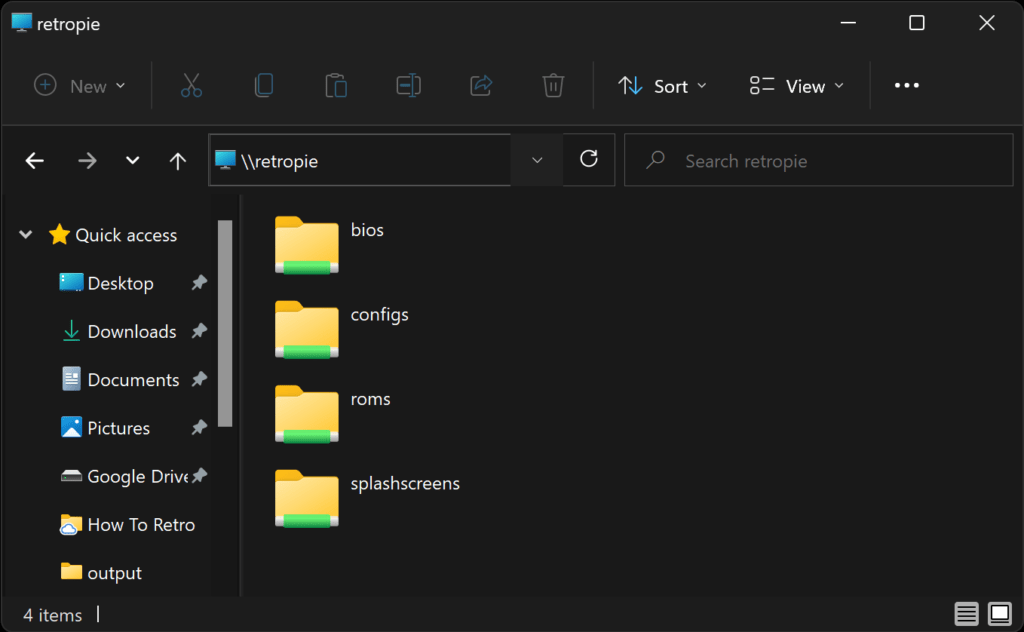
This should then connect to your Raspberry Pi and you will be able to see the ‘bios‘ and ‘roms‘ folders amongst others.
Simply then copy your files from your PC to these folders on your Raspberry Pi.
Step 3 – Copy Sega Saturn Games To ‘roms’ Folder
Now you will want to copy a Sega Saturn game to the RetroPie ‘roms’ folder.
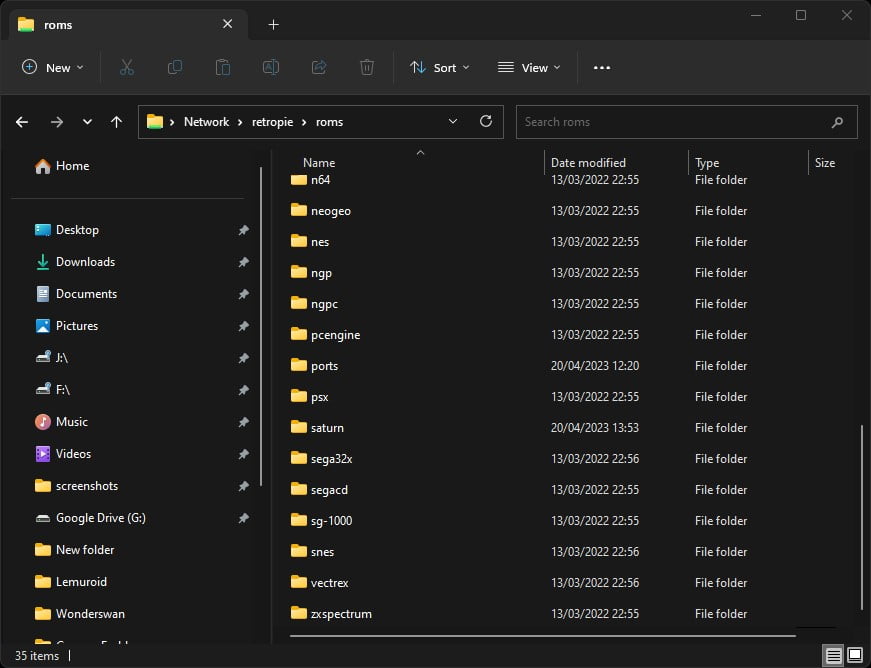
Following the same method you chose in the previous step, copy your Sega Saturn game files into the /retropie/roms/saturn/ folder.
RetroPie will be able to boot games stored in .zip files as well, so you can either place the game files directly into this folder, or within a .zip file.
Once you have copied your games across to the roms folder, reboot your Raspberry Pi or EmulationStation so the games can be indexed and visible for you to select.
Step 4 – Load A Game & Play
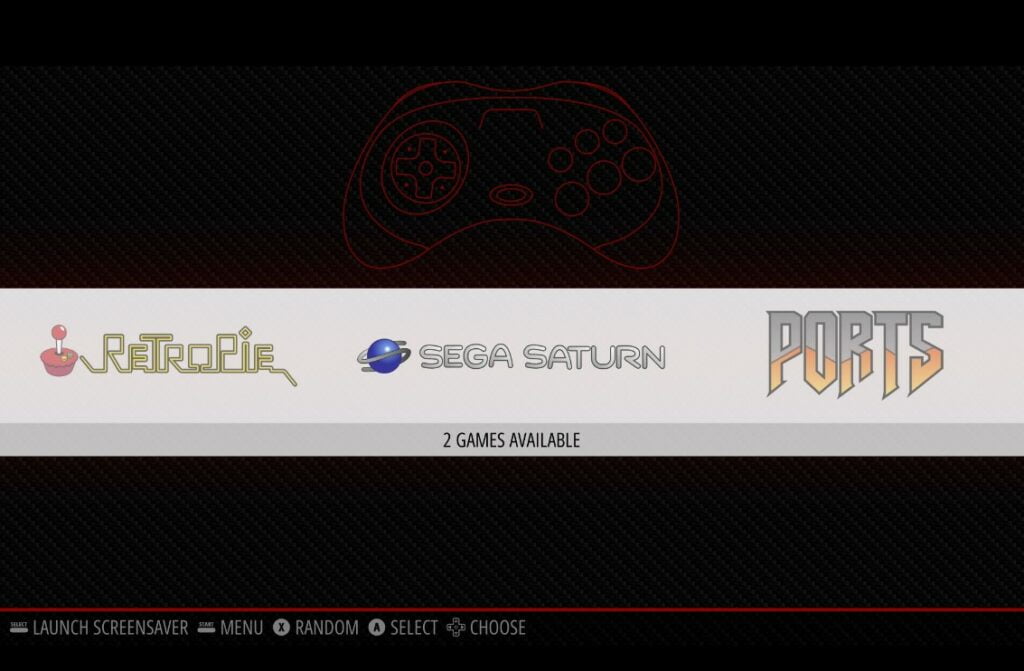
Once your EmulationStation has restarted, you will be able to scroll across to a Sega Saturn section which will also show how many games it has registered to play.
Simply select the Sega Saturn menu, and pick a game to play!
As mentioned at the start of this guide, Sega Saturn emulation on the Pi is still not working particularly well and the lr-yabause core is ideal to get a taste of things and possibly a few lower-end games to play properly.
This RetroPie Sega Saturn page provides details on the state of Sega Saturn emulation on the Raspberry Pi as well as further configuration details for RetroPie Sega Saturn emulation.

A lifelong avid gamer and computing enthusiast, Matt has decades of Retro Gaming experience. Now over 40 years old, Matt now even considers himself retro, but fortunately, nobody has developed a Matt emulator (not yet at least!).
