RetroPie is a free and open-source project that transforms your Raspberry Pi into a retro gaming powerhouse. It is essentially a collection of emulators that can be used to play games from a variety of classic retro consoles and computers, including the C64, NES, SNES, Genesis, Neo Geo, N64 & PS1.
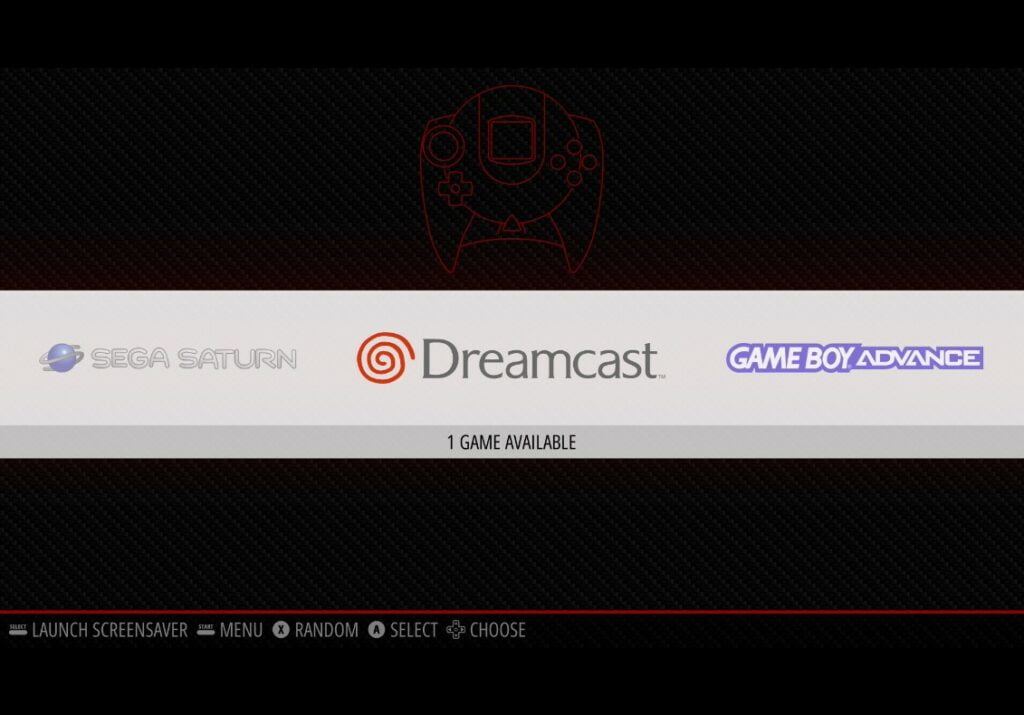
RetroPie combines powers with the excellent EmulationStation, an attractive front-end that makes it easy to browse and launch your collection of retro games. EmulationStation is a graphical user interface that makes it easy to browse and launch games on your RetroPie system. It also allows you to customize the look and feel of your RetroPie system with different themes and personalised tweaks.
How does RetroPie work?
RetroPie works by using your Raspberry Pi to emulate the hardware of classic consoles via a range of emulator cores, accessible via RetroPie. This means that you can all your favorite classic games on your Raspberry Pi without having to use the original hardware. RetroPie also includes a variety of settings that allow you to customize the emulation experience, such as the resolution, frame rate, and controller settings.
When you first boot up your RetroPie system, EmulationStation will scan your SD card for game ROMs. ROMs are files that contain the data for a video game. Once EmulationStation has found your ROMs, it will create a list of games that you can browse and launch.
To play a game, you simply select it from the list in EmulationStation and press the A button on your controller. The emulator will then load the game and you can start playing.
What do I need to use RetroPie?
To use RetroPie, you will bare minimum need a Raspberry Pi, a microSD card, a power supply, and a controller. You will also need to download the RetroPie image and flash it to the microSD card. Once you have done this, you can connect the Raspberry Pi to your TV and start playing games.
Here is a list of essential and recommended items, to get the most from RetroPie.
- Raspberry Pi – The Raspberry Pi is a small, affordable computer perfect for retro gaming. The latest Raspberry Pi 4 is the best option for RetroPie, but older models will also work.
- MicroSD card – The microSD card will store the RetroPie operating system and your game ROMs. You will need a card with at least 8GB of storage, but a larger card is recommended if you plan to install a lot of games.
- Power supply – The Raspberry Pi needs a power supply with a minimum output of 5V and 2.5A.
- Controller – You can use a USB controller or a Bluetooth controller with RetroPie. Check out our article on the best controllers for RetroPie.
- HDMI cable – You will need an HDMI cable to connect your Raspberry Pi to a TV or monitor.
- Optional accessories:
- Raspberry Pi case – A case will protect your Raspberry Pi from damage as well as look great! Check out our article on the best Raspberry Pi cases for your RetroPie setup.
- Heatsinks – Heatsinks will help to keep your Raspberry Pi cool.
Once you have all of the necessary hardware, you can follow the instructions on the RetroPie website to install the RetroPie operating system and your game ROMs.
Here are some additional tips for using RetroPie:
- Use a high-capacity microSD card – A good quality, high-capacity microSD card will help to ensure that you have plenty of space for your game collection.
- Organize your game ROMs – It is a good idea to organize your game ROMs into folders by console. This makes things much easier when managing your ROM files.
- Use a controller – A controller will make it much easier to play games on your RetroPie system.
- Update RetroPie regularly – The RetroPie team releases updates on a regular basis. These updates often include new features and bug fixes.
How do I install RetroPie?
There are two ways to install RetroPie:
- Using the RetroPie image: This is the easiest way to install RetroPie. You can download the RetroPie image from the RetroPie website and flash it to a microSD card using a tool like Etcher.
- Building RetroPie from source: This is a more advanced method that allows you to customize RetroPie to your liking.
For more details, take a look at our series of guides on how to set up RetroPie.
What are the benefits of using RetroPie?
There are many benefits to using RetroPie, including:
- It’s free and open-source: RetroPie is a free and open-source project, which means that it is constantly being updated and improved by a community of users.
- It’s easy to use: RetroPie includes a user-friendly interface called EmulationStation that makes it easy to browse and launch games.
- It’s versatile: RetroPie can be used to play games from a variety of classic consoles.
- It’s affordable: The Raspberry Pi is a relatively inexpensive device, so you can build a RetroPie system for a fraction of the cost of a traditional gaming console.
RetroPie is a very easy-to-use system, even for people who are not familiar with emulators. The setup process is simple and the user interface is very intuitive. If you are a fan of retro gaming, then RetroPie is a great way to relive your childhood on your Raspberry Pi.