Sega Dreamcast fans, prepare to be dazzled! By combining RetroPie with your Raspberry Pi, you will be in possession of the ultimate retro gaming device!
RetroPie turns your Raspberry Pi into an emulation juggernaut for the Sega Dreamcast as well as a stack of other systems. Get ready to unearth your cherished Dreamcast favorites, all of which will be merely a few presses of a button away, bidding farewell to Dreamcast’s notorious woes of unresponsive lasers and unreadable, damaged discs!
Begin your journey by using this RetroPie Dreamcast setup guide and delve into old favourites such as Sonic Adventure, Shenmue, and a plethora of other Dreamcast classics.
Requirements
- Download and Install RetroPie (A Raspberry Pi 4 is required using the Redream emulator) – Download RetroPie Here
- A keyboard and mouse – If you plan on using your Raspberry Pi to download BIOS files and ROMs
- Sega Dreamcast BIOS Files – The Redream emulator has a preinstalled BIOS that will work for most games, however, if you experience any issues, it is worth trying actual Dreamcast ROM files dumps. The files you will need to source yourself are named:
- dc_boot.bin
- dc_flash.bin
- Have at least one Sega Dreamcast game ready to test – These can be .cue .cdi .chd or .gdi files
- To play games on RetroPie you will of course need a controller – The 8bitdo Pro 2 Bluetooth Controller is one of the best RetroPie controllers and an excellent all-arounder for emulation and can also be connected by USB for even better performance in terms of latency
Step 1 – Boot RetroPie & Download Sega Dreamcast Emulator
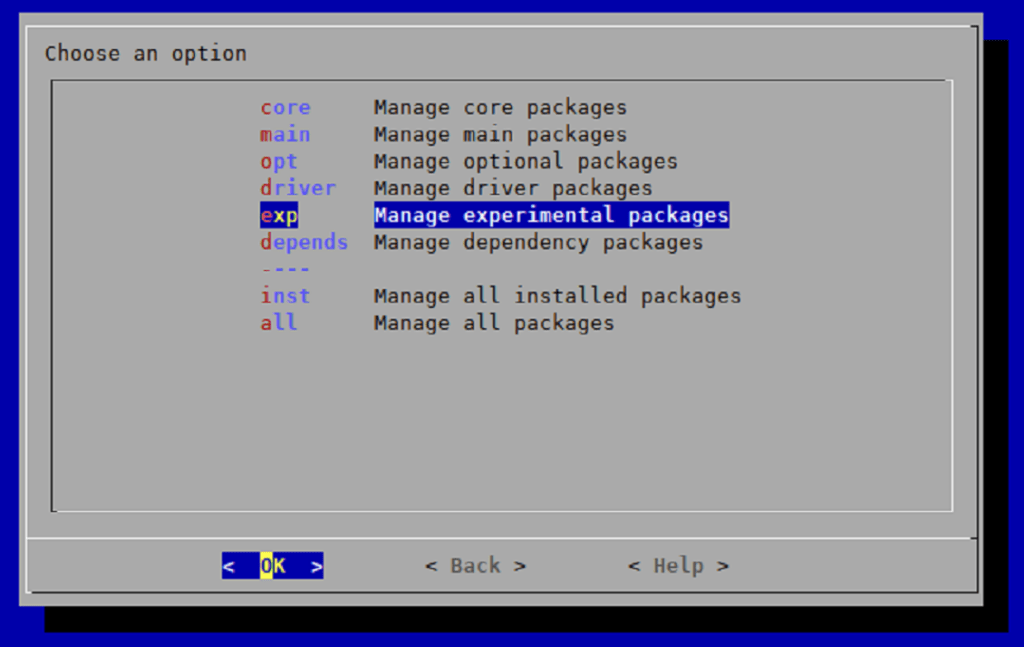
- Go to the RetroPie options menu and select ‘RetroPie Setup’
- ‘Manage packages
- ‘Manage experimental packages’
- Scroll down and select ‘Redream’
- Finally, select ‘Install from pre-compiled’ binary’
- RetroPie will then download and install the Sega Dreamcast emulator
- Navigate back through the menu and then select ‘Exit’
Step 2 – Copy Sega Dreamcast BIOS File To ‘bios’ Folder
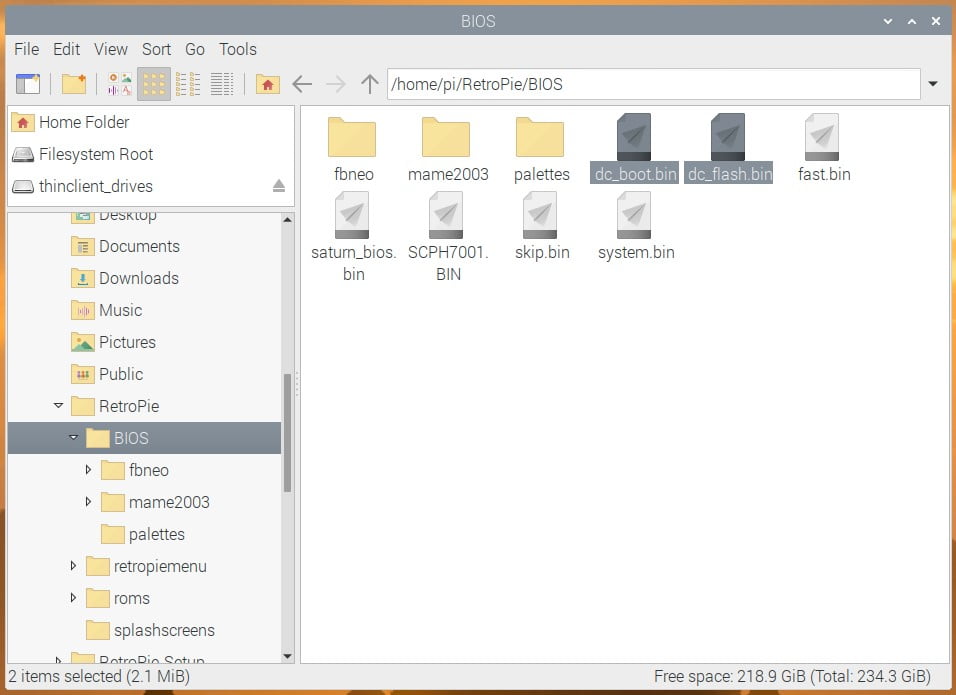
If you wish to use actual Dreamcast BIOS files, you will need to transfer your files, specifically ‘dc_boot.bin’ and ‘dc_flash.bin’, into the RetroPie BIOS directory.
There are two ways to do this. Firstly, you can use your Raspberry Pi to download the BIOS files and then copy them to the BIOS folder. Alternatively, you can remotely access your Pi from your PC and access your Raspberry Pi directly from Windows.
Using Your Raspberry Pi To Download BIOS File
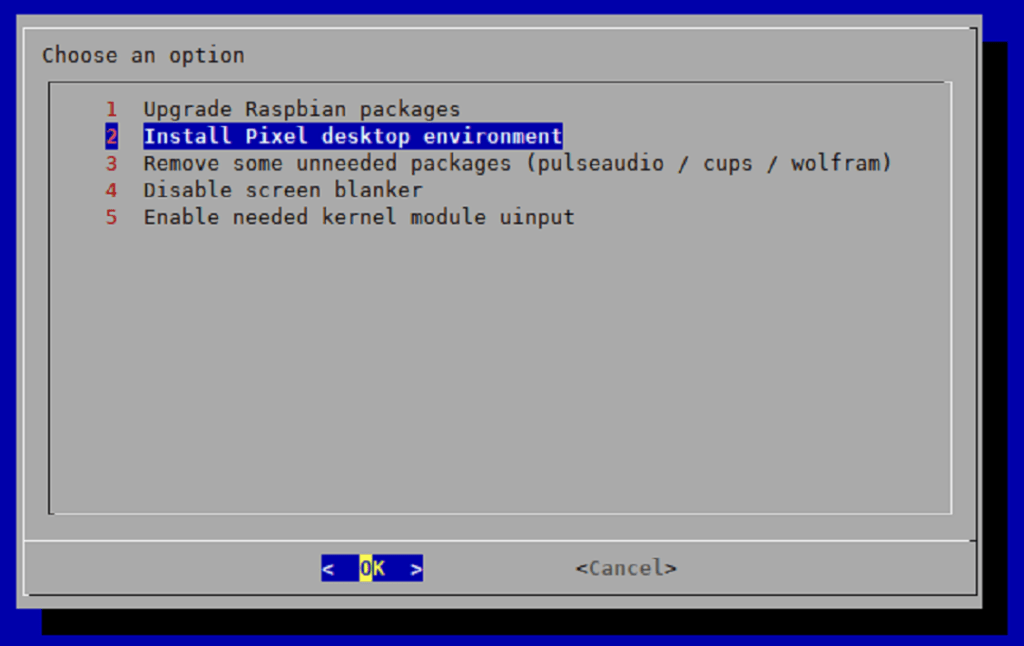
In order to access desktop mode on your Raspberry Pi RetroPie installation, you will need to make sure you have the ‘Pixel’ desktop environment’ installed. This is easy to do.
Simply access the RetroPie options screen and select ‘RetroPie Setup’.
- RetroPie Setup (Access this from the RetroPie options menu
- Configuration / Tools
- Raspbian Tools
- Install Pixel desktop environment
Once the Pixel desktop environment has been installed, reboot your Raspberry Pi and then you can access desktop mode by scrolling in RetroPie to ‘Ports’ and then selecting ‘Desktop’.
This will then boot to desktop mode where you can access the Pi’s directories and files like a normal PC.
You will then need to copy your Sega Dreamcast BIOS files to the below location.
/home/pi/RetroPie/BIOS
Remotely Accessing Your Pi From A Windows PC
If you have a Windows PC available, this is a simple way to get files across to your Raspberry Pi.
First of all, ensure that your Raspberry Pi is connected to the same network as your PC, then open up Windows file explorer and type ‘\\retropie‘ in the address bar.
Ensure that your Pi has been switched on for a minute or two as it sometimes takes a little time to appear on the network.
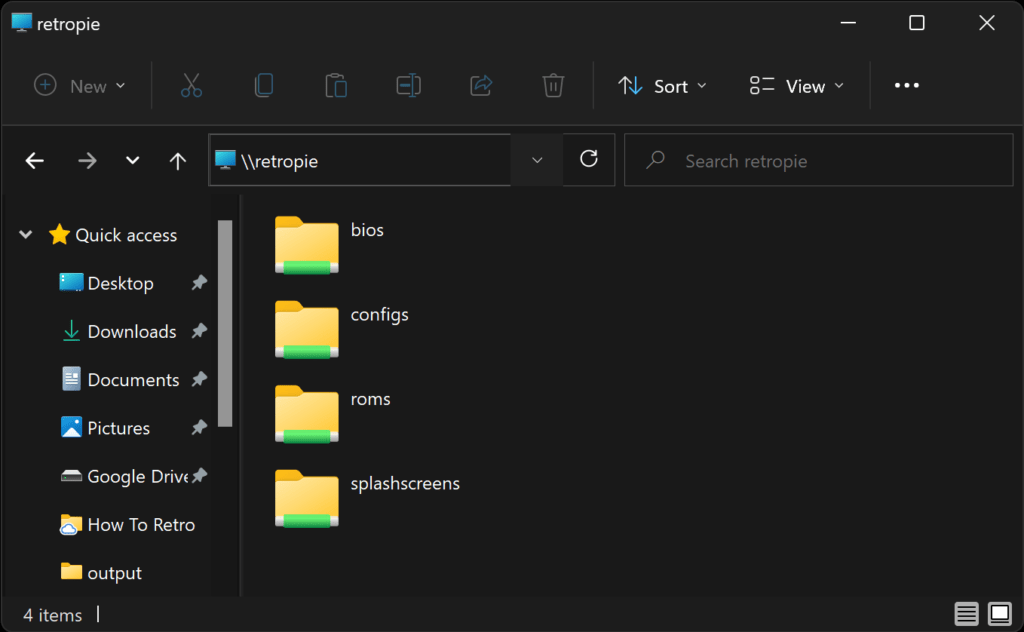
This should then connect to your Raspberry Pi and you will be able to see the ‘bios‘ and ‘roms‘ folders amongst others.
Copy your files from your PC to these folders on your Raspberry Pi.
Step 3 – Copy Sega Dreamcast Games To ‘roms’ Folder
You will now need to copy a Sega Dreamcast game to the RetroPie ‘roms’ folder.
Following the same method you chose in the previous step, copy your Sega Dreamcast game files into the /retropie/roms/dreamcast/ folder.
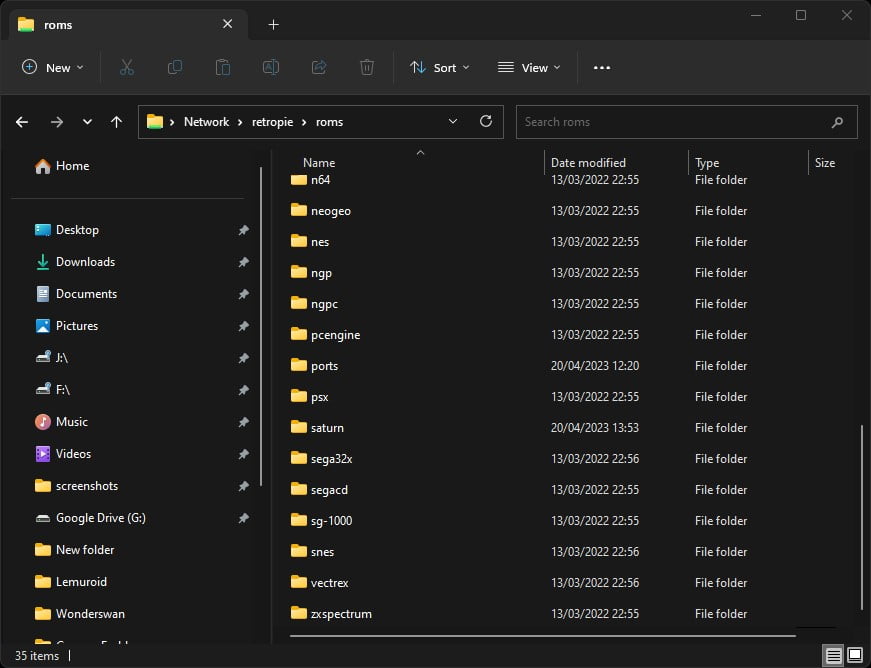
Once you have copied your games across to the roms folder, reboot your Raspberry Pi or EmulationStation so the games can be indexed and visible for you to select.
Step 4 – Load A Game & Play
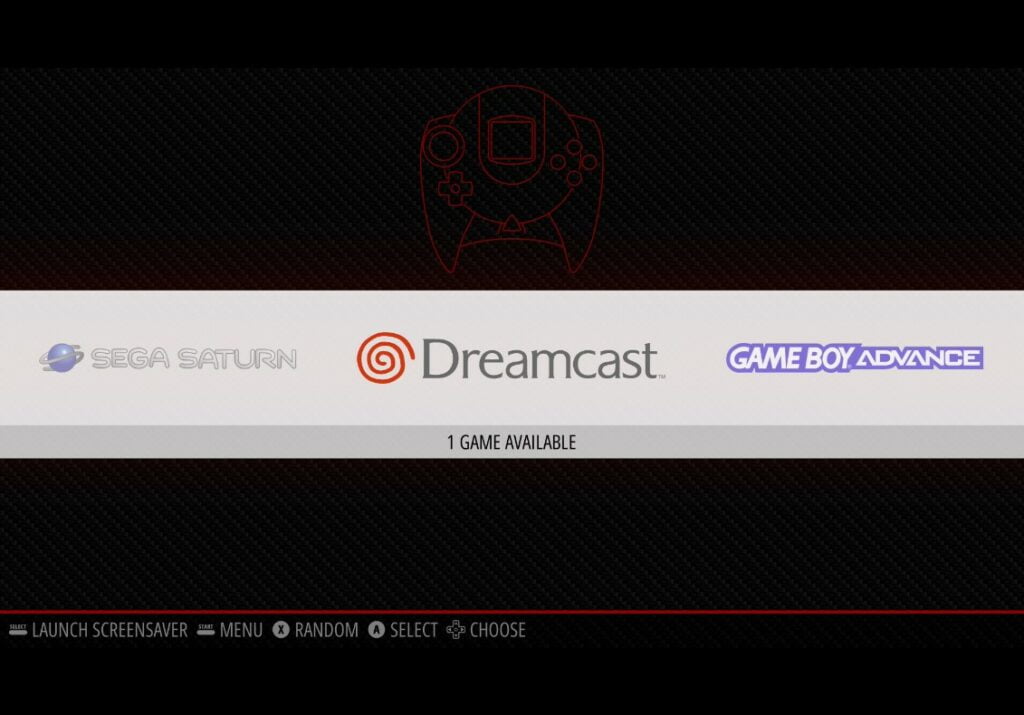
Once EmulationStation has restarted, you will be able to scroll across to the Dreamcast section which will also show how many games it has registered to play.
Simply select the Dreamcast menu, and pick a game to play!
This RetroPie Sega Dreamcast page provides details on the state of Sega Dreamcast emulation on the Raspberry Pi as well as further configuration details for RetroPie Sega Dreamcast emulation.

As a retro gaming & retro computing enthusiast, I enjoy sharing help guides and about retro gaming in general, when I have the spare time to do so!
