If you didn’t know already, RPCS3 is the best PS3 emulator around. In fact, realistically speaking, it is really the only fully working PS3 emulator, so you have made the right choice in choosing RPCS3 and this set-up guide, to help you get up and running.
We show you how to set up RPCS3, taking you through easy steps to download, and install, as well as additional basic set-up tips to get you playing your favourite PS3 games with this excellent emulator.
RPCS3 Requirements
Before we start, it is worth noting the following RPCS3 requirements before you follow the guide.
- Recommended PC requirements – At least a 6 Core/12 Thread AMD/Intel CPU, Vulkan compatible GPU (Typically RX400 or GTX 900 series or higher), 8GB RAM.
- At least one PS3 Game – You’ll need a game ready to test out in this guide.
- A Controller – If you have a controller, ensure this is connected before launching RPCS3. Whilst using the keyboard is possible, we recommend using a controller! The 8bitdo Pro 2 Bluetooth Controller is an excellent emulator controller and can also be connected by USB.
1. RPCS3 Download & Installation
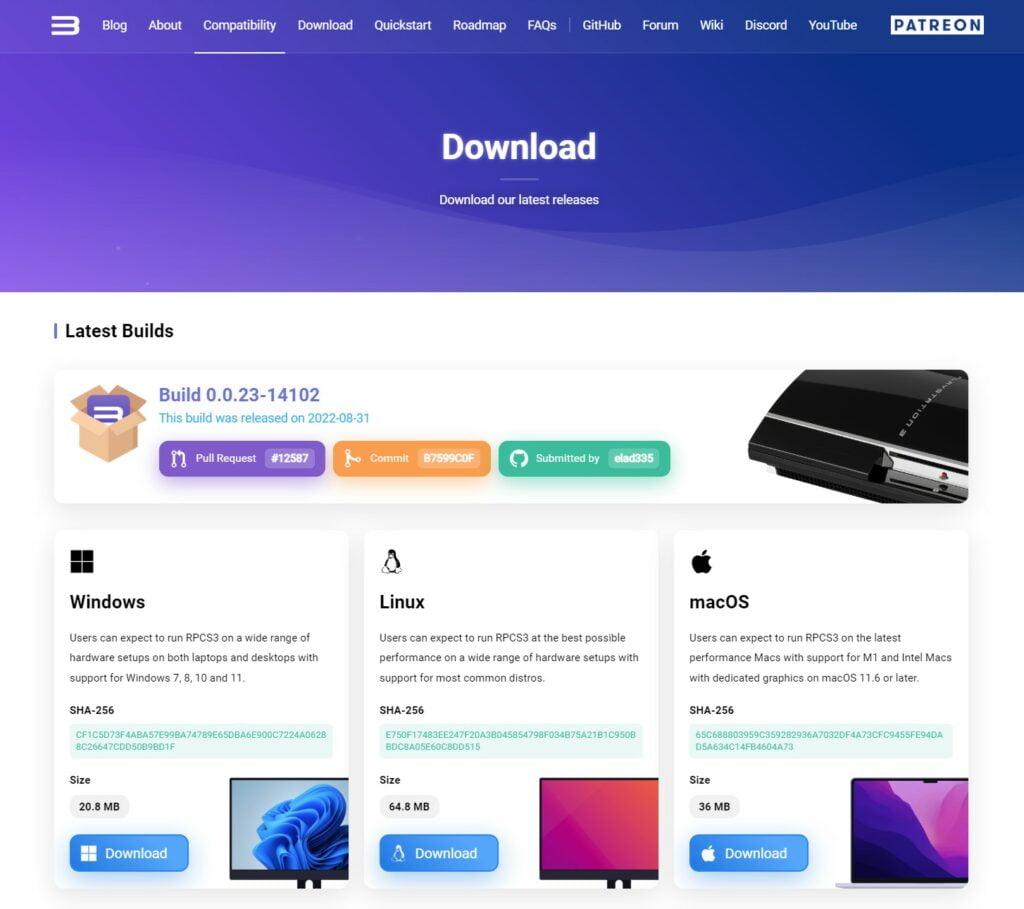
First of all, you will need to download RPCS3 from the official RPCS3 website.
Visit https://rpcs3.net/ and click the ‘Download’ link from the top menu, then download the version you require for your system.
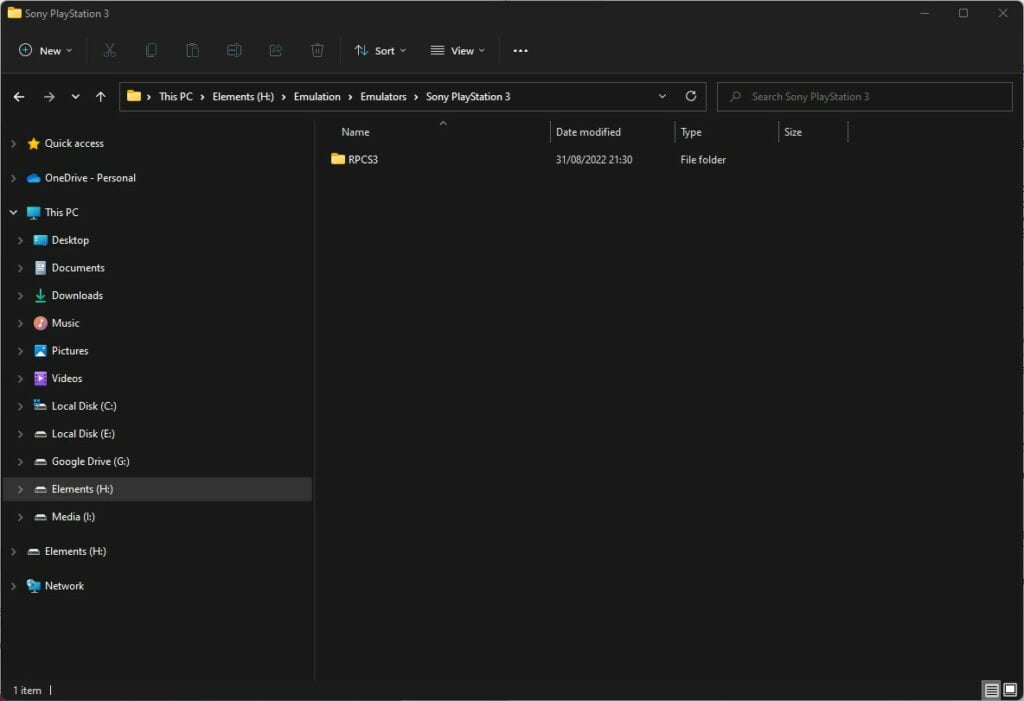
Once you have downloaded RPCS3, you should create a folder on your system in which you can install/extract RPCS3.
I created a folder called RPCS3 on my external hard drive as shown in the image below. You can do the same, but in whatever location suits you best.
Now that you have created a folder for RPCS3, simply extract the file you have just downloaded into the new folder. You can use software such as WinRAR or 7Zip to do this if you do not already have anything installed to do this task.
Once you have done this, you will see a big list of files, similar to the below image.

2. Download PS3UPDAT.PUP RPCS3 Firmware & Install
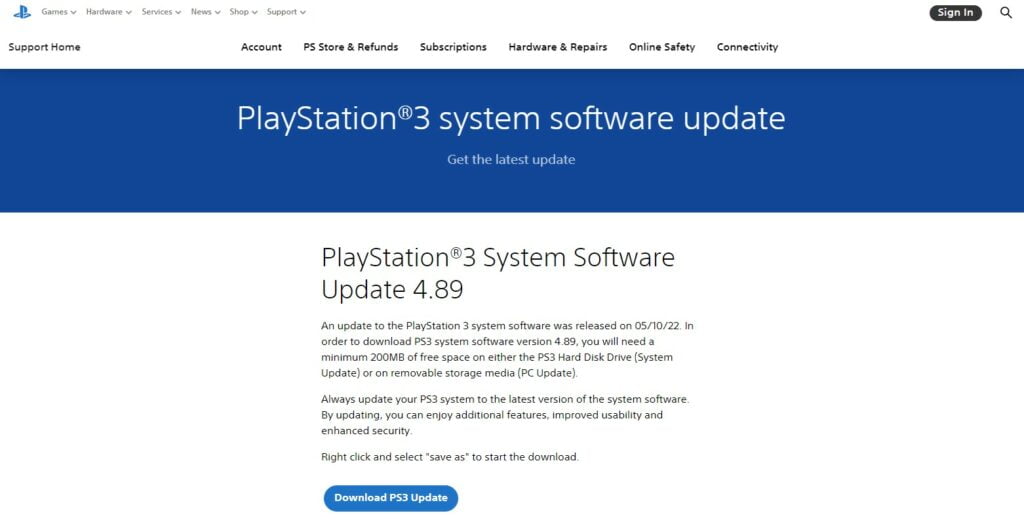
RPCS3 requires the use of official PS3 firmware PS3UPDAT.PUP file, but you’ll need to download this from the official PlayStation site.
It is easy to obtain, simply visit https://www.playstation.com/en-us/support/hardware/ps3/system-software/ and follow the instructions on the screen to download the PS3 Firmware file.
Note that your browser may try to block the download of the file. For example, Google Chrome may suggest blocking the download, but be assured the download is safe (as long as you are downloading from the official PlayStation site), so click ‘Keep’ when Google Chrome prompts you to continue to download the file.
Once you have downloaded the PS3UPDAT.PUP file, place this into the RPCS3 folder you created earlier.
Next, launch RPCS3 and click continue on the pop-up that appears upon launch.
You will then need to go to the menu ‘File -> Install Firmware’ and then select the PS3UPDAT.PUP firmware file you downloaded.
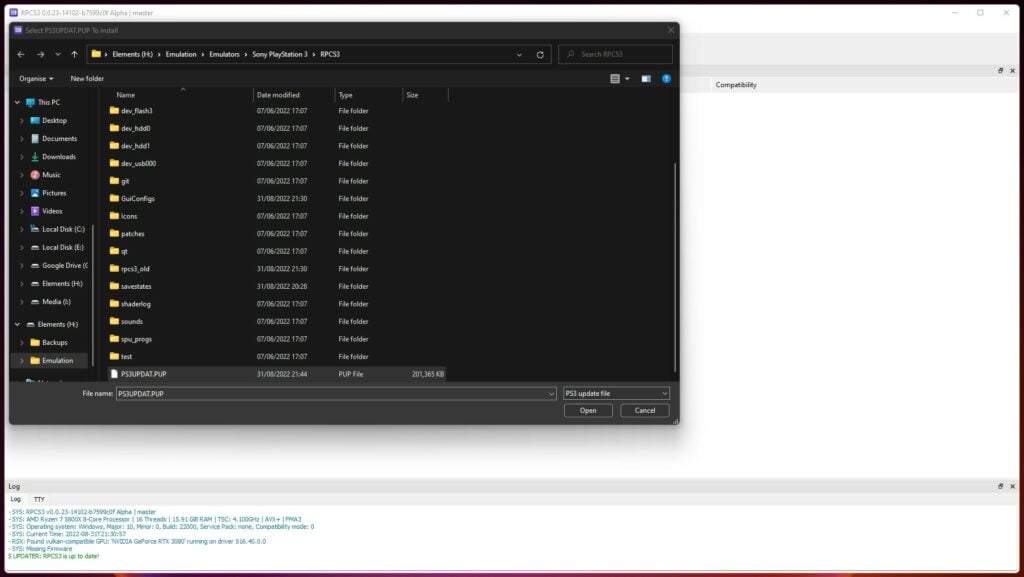
RPCS3 will then proceed to install the firmware into the emulator, you should then see a successfully installed message appear once this is complete.
3. RPCS3 Controller Set Up
Ensure that your controller is already connected prior to launching RPCS3 (If not, just simply close and restart after you have connected it).
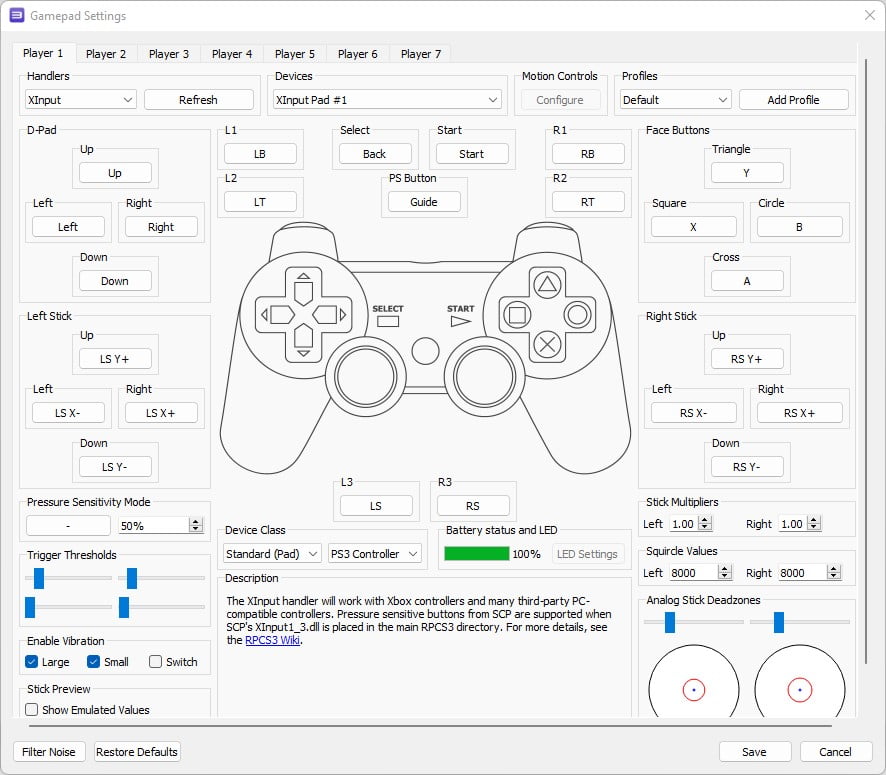
Next, select the ‘Pads’ icon found in the menu ribbon in the upper part of RPCS3. This will then show the controller settings screen.
RPCS3 is compatible with a number of controller types out of the box, so for example in the Handlers section, you can select Keyboard, Dualshock 3 & 4 controllers, as well as a PS5 DualSense.
If you are using something like an Xbox controller or XInput compatible controller, select ‘XInput’.
This will then auto-configure the button mappings and set them up for you. Click save to save the controller settings.
4. How To Add Games To RPCS3
Adding your PS3 games library is easy, simply go to the menu ‘File -> Add Games’, then navigate to your PS3 games folder, then click ‘Select Folder’.
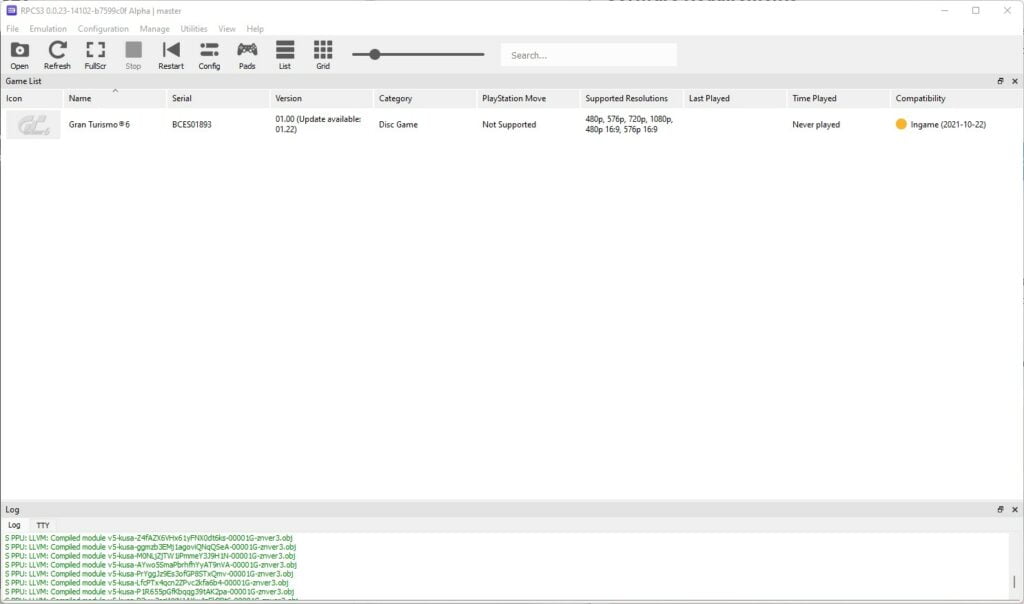
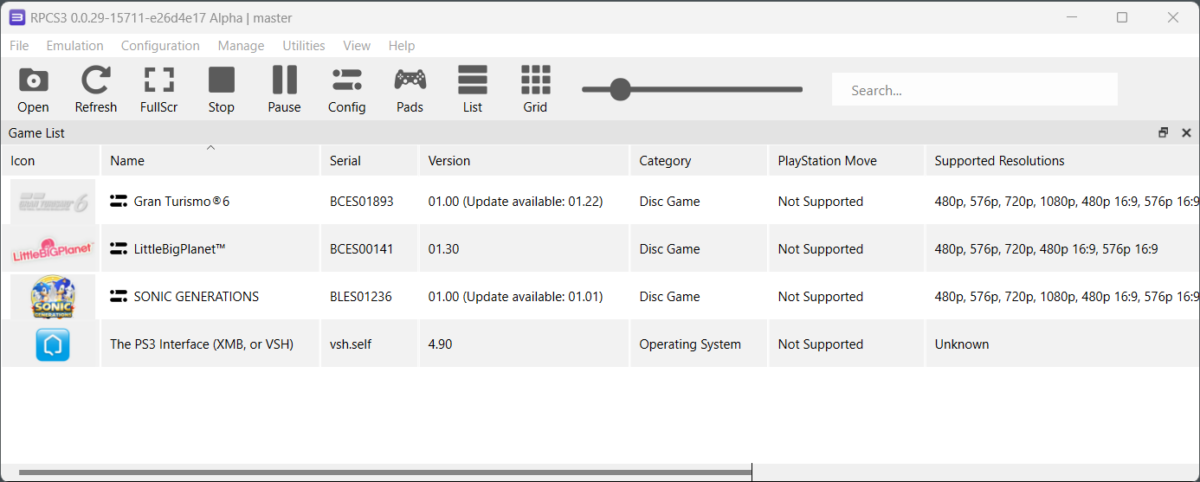
Your games will then be imported and appear in the RPCS3 window.
5. Installing Game Patches & Update Files
Games will often have patches and update files that are available. These are patches and updates that the developers originally released to fix or improve their games after their initial release.
You will need to download these files yourself, but RPCS3 allows you to apply these updates to games you are using and is very simple to do.
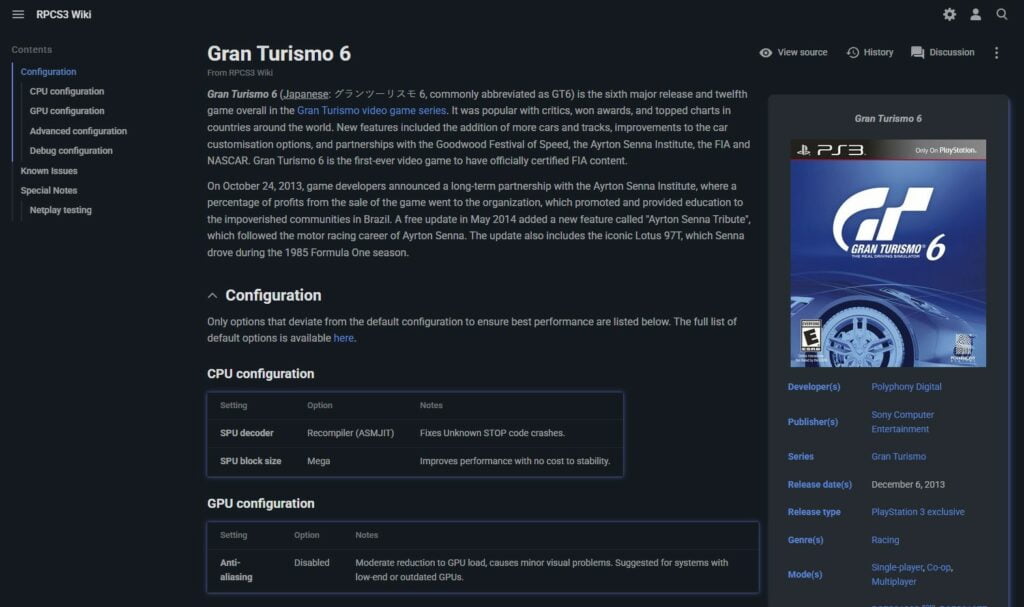
Ensure that the update files are specifically for the game serial number you are looking to update. For example, the version of Gran Turismo 6 I am using has the serial number BCES01893, so the update files that I need to download and apply must match this version too.
Once you have downloaded your update files, you can either go to the ‘File -> Install Packages/Raps/Edats’ menu and select your update files, or you can simply select all of the update files for the game you wish to update and drag them into the RPCS3 window.
Note that update files have to be installed in the correct order, starting with the earliest update first. If you try to apply multiple update files at once, RPCS2 will give you the option to reorder them if required.
6. RPCS3 Emulator & Graphics Settings
Emulator performance will largely depend on the power of your system, but there are a few simple settings that are easy to update which will help you get the best performance possible.
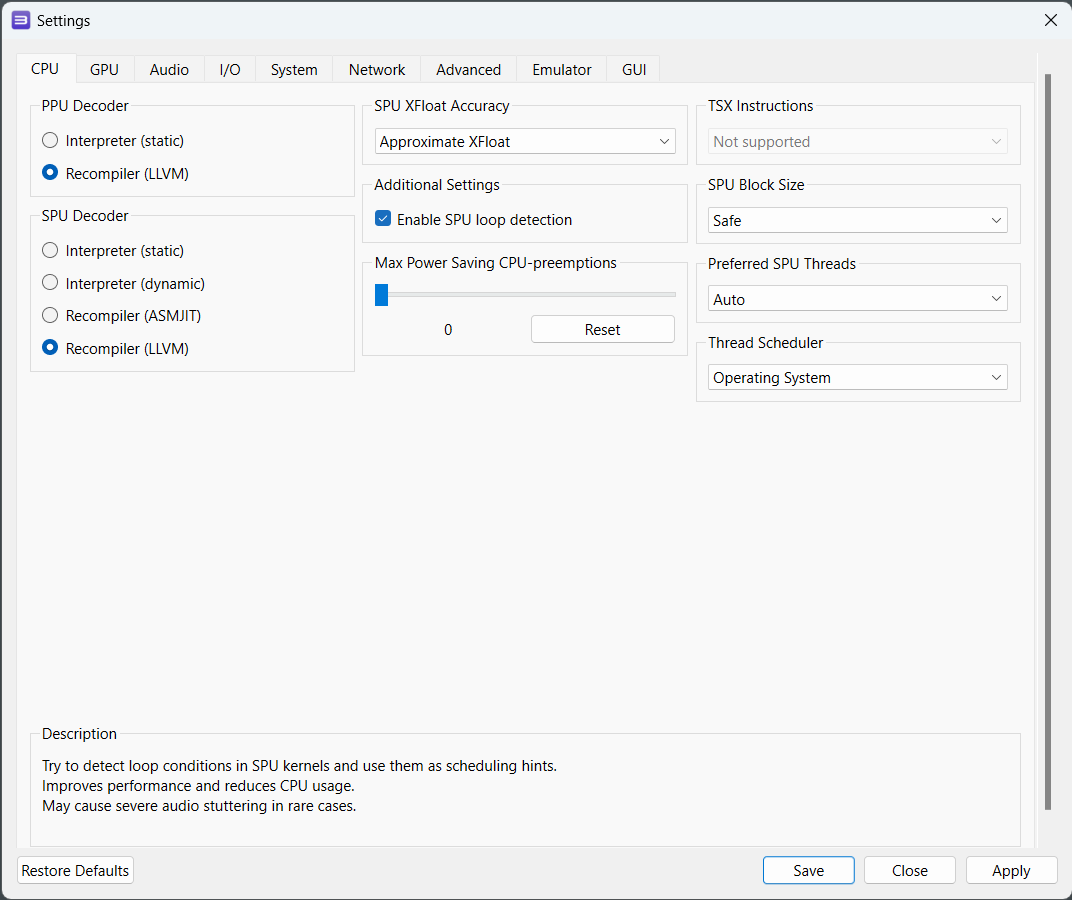
Select the ‘Config’ icon along the top ribbon bar. This is where you can access all the emulator settings, but most specifically, we’ll be looking at the CPU and GPU tabs.
The first setting can be found under the ‘CPU’ tab. Here you will want to check the ‘Enable SPU loop detection’ option.
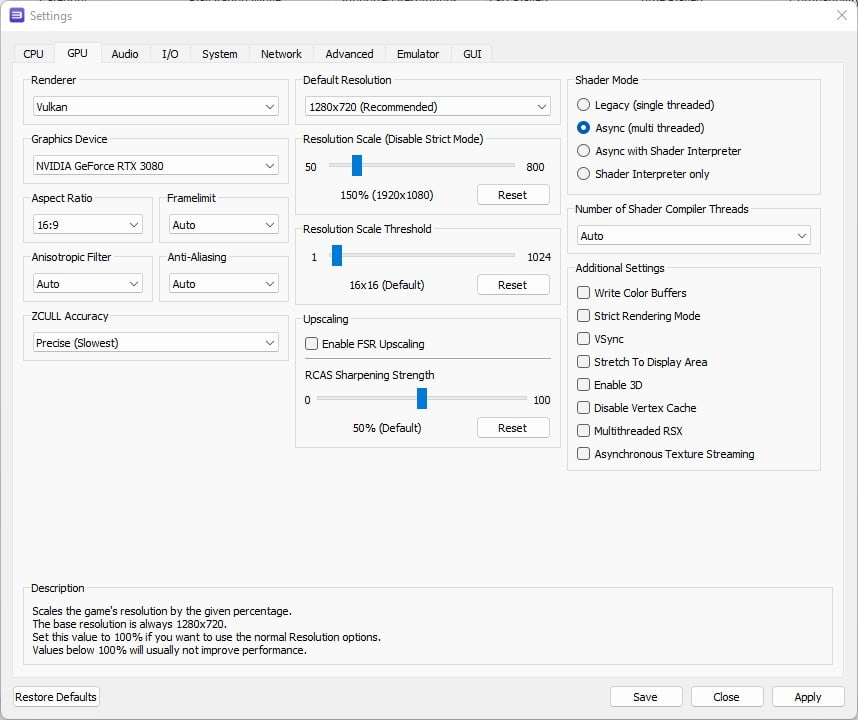
Next, go to the GPU tab. Here you will find everything relating to the video output of the emulator. Everything from resolution settings to anti-aliasing settings can all be modified here.
We’re going to focus on the resolution settings in this example. I recommend leaving the default resolution to 1280×720, but if you are looking to improve the resolution appearance, then use the resolution scale bar. Increase this to the resolution your screen supports, e.g. 150% (1920 x 1080) if you are using a 1080p screen. If you find that games are not running smoothly, then test pulling this setting back a notch and see if it helps performance.
Once you have done this, click the save button.
7. Game Custom Configurations
Since PS3 emulation and RPCS3 are still relatively new, you will find that game performance varies widely.
To help with getting things optimised, it is worth taking a look at the RPCS3 Wiki pages – https://wiki.rpcs3.net/ – Here you will find details on game compatibility as well as optimal settings.
If your desired game has specific config recommendations, then you can set these up by going to your game list in RPCS3 and right-clicking the game, then selecting ‘Create Custom Configuration’, and then making the required changes as recommended in the RPCS3 Wiki pages.
You can also check the game compatibility database here – https://rpcs3.net/compatibility This is a quick reference to easily check game compatibility status before getting stuck trying to improve things yourself.
8. RPCS3 Game Patches
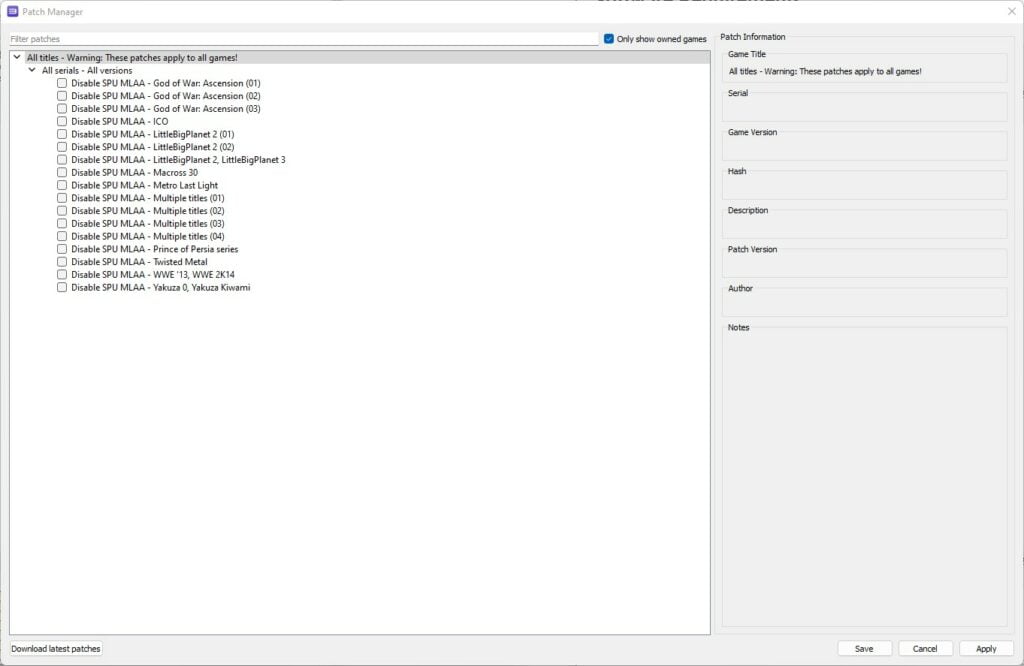
Go to the menu and select ‘Manage -> Game Patches’ and tick ‘Only Show Owned Games’, then click ‘Download Latest Patches’. Note that RPCS3 may prompt you to update patches when you access the game patches section, in which case, click ‘Yes’ to also update patches.
RPCS3 will return a list of patches, if available, for any games you have added to your library.
To apply any patches, expand the rows by clicking the down arrow icon and tick the box of any patches you wish to utilise, then click ‘Save’.
9. Launching Games
To launch a game, simply go to your game list and double-click the game you wish to boot.
You will then have a short wait whilst things compile ready to boot up the game. You will likely see the message onscreen that says it is compiling PPC modules or building SPU cache prior to the game booting, just sit tight and your game will boot after a short wait.

You will also notice a message in the bottom left of the emulator that appears saying ‘Compiling Shaders’, this is normal and is the emulator compiling the shader files as the game is played. You may find whilst this is happening some stuttering occurs, but don’t worry, this is a one-time operation that happens only when there are new shader files to compile, so the next time you play this part of the game, this won’t happen.
If you want to play your game in full-screen mode, simply press ‘Alt + Enter’ to switch between full-screen and windowed modes.

As mentioned earlier, RPCS3 and PS3 emulation in general, is still very young so performance between games does vary a great deal. But in the meantime, enjoy whatever you can and the excitement that PS3 emulation is finally in a really good state.

A lifelong avid gamer and computing enthusiast, Matt has decades of Retro Gaming experience. Now over 40 years old, Matt now even considers himself retro, but fortunately, nobody has developed a Matt emulator (not yet at least!).