Sony PlayStation (PS1) emulators are now in an excellent place with near on perfect emulation being offered by the likes of DuckStation, which is an excellent choice for fast and accurate PS1 emulation.
The great news is that a libretro port of DuckStation has made its way to RetroArch under the name ‘SwanStation’ (See what they did there?).
Whilst SwanStation is not being developed/maintained by DuckStation developer ‘Stenzek’, SwanStation is proving to be one of the better PS1 RetroArch cores available and will be the one I use in this quick guide on how to set up RetroArch for PS1.
First of all, here is what you will need before we begin:
- Install RetroArch – Download RetroArch Here
- Have at least one PS1 game disc image ready to test – These are typically booted by launching a .bin/.cue, .img/.ccd/.sub or .chd file.
- Have the relevant PS1 BIOS files depending on what region games you wish to play – I cover this in more detail here, but you will need a PS1 BIOS file to boot games with the SwanStation core.
- To play games, you will ideally have a controller – You can struggle using keyboard controls if you want, but make life easier by using a quality controller. The 8bitdo Pro 2 Bluetooth Controller is an excellent controller and is my personal preference to use across a number of emulated systems.
Step 1 – Download PS1 BIOS File
The SwanStation core on RetroArch requires the use of a PS1 BIOS file so it can boot up games.
You will need to locate and download at least one of the following BIOS files.
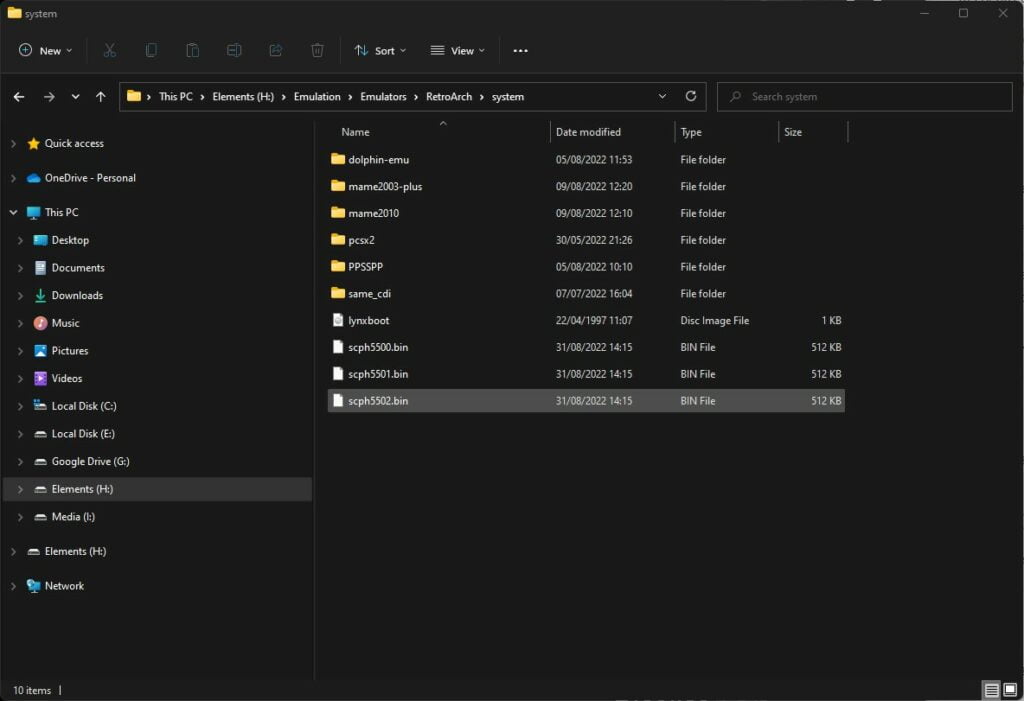
- scph5500.bin (Japan BIOS)
- scph5501.bin (US BIOS)
- scph5502.bin (EU BIOS)
Once you have your desired region PS1 BIOS, you will need to copy it to the ‘RetroArch/system/’ folder.
Step 2 – Download The ‘SwanStation’ Core In RetroArch
Next, boot up RetroArch.
Once you have RetroArch open, select ‘Load Core’. (Note – Your RetroArch theme appearance may differ from the one I am using, but don’t worry, the process is still the same).
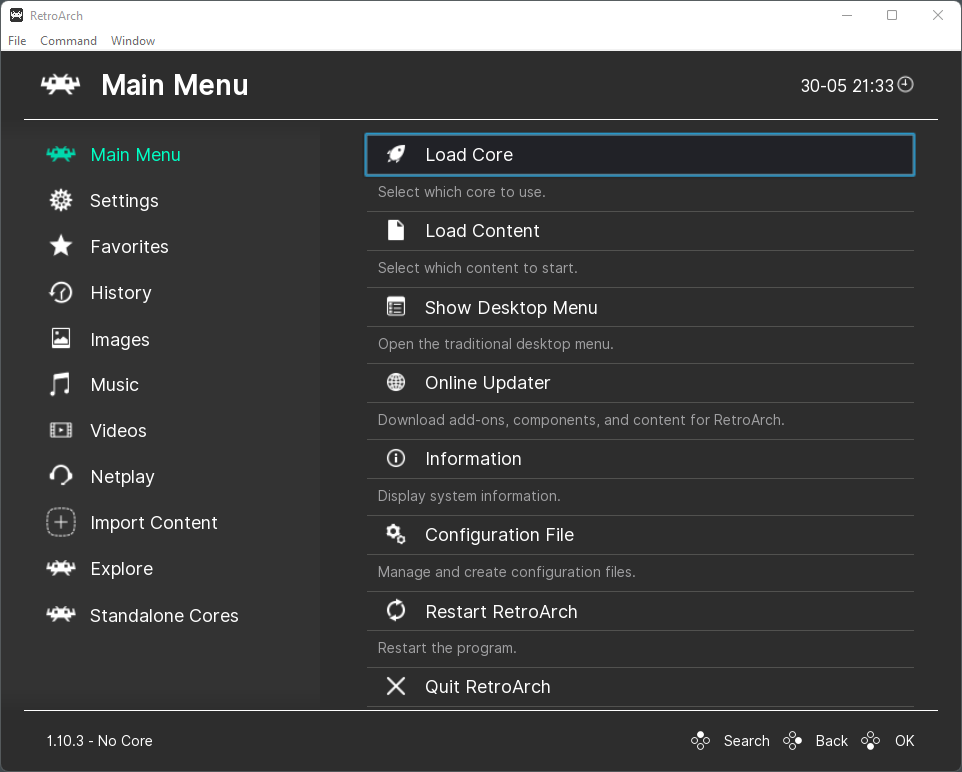
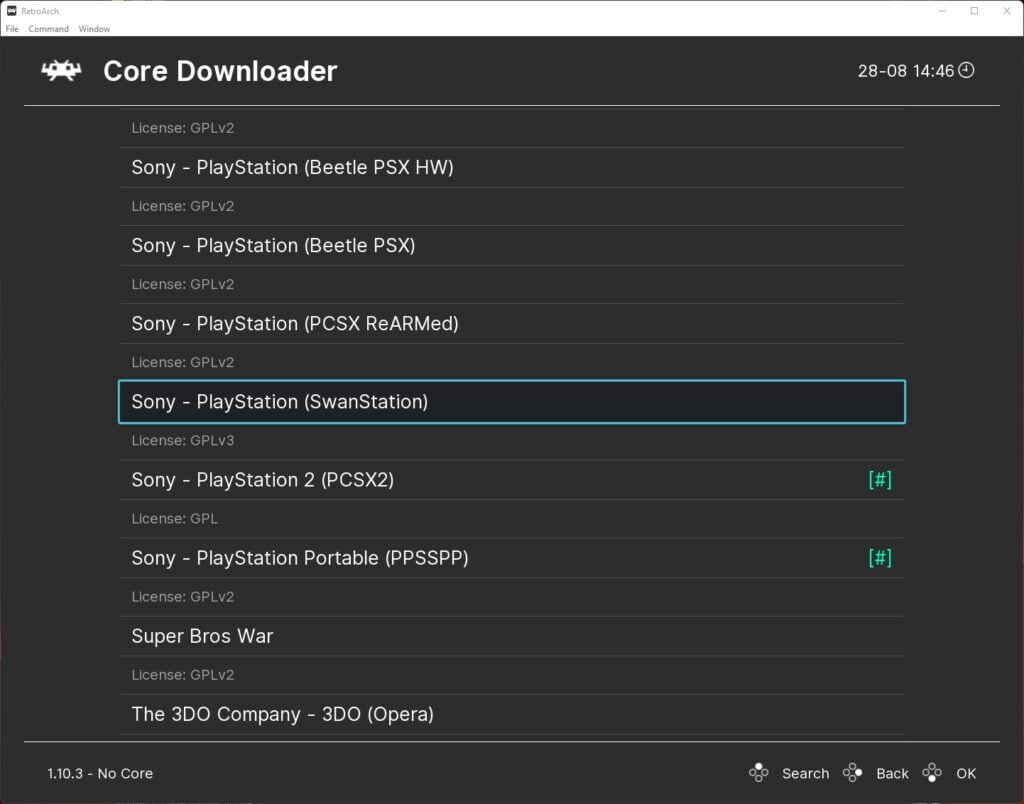
Next, select ‘Download a Core’.
Scroll down the Core Downloader menu until you get to ‘Sony – PlayStation (SwanStation). Select this, then the core will begin to download and install automatically.
It can also be a good idea if you are using an existing installation of RetroArch and not a fresh install, to go back to the main menu, scroll down to ‘Online Updater’ and select:-
‘Update Core Info Files’ as well as ‘Update Databases’.
This will ensure all the essential files and databases for RetroArch are fully up to date. If you are using a fresh installation of RetroArch, this will not be necessary.
Step 3 – Choose A PS1 game To Play
We are now ready to play some PS1 games!
Go back to the main menu in RetroArch and select ‘Load Content’. Then navigate to where you have your PS1 games are stored. Then select the game disc image that you wish to load.
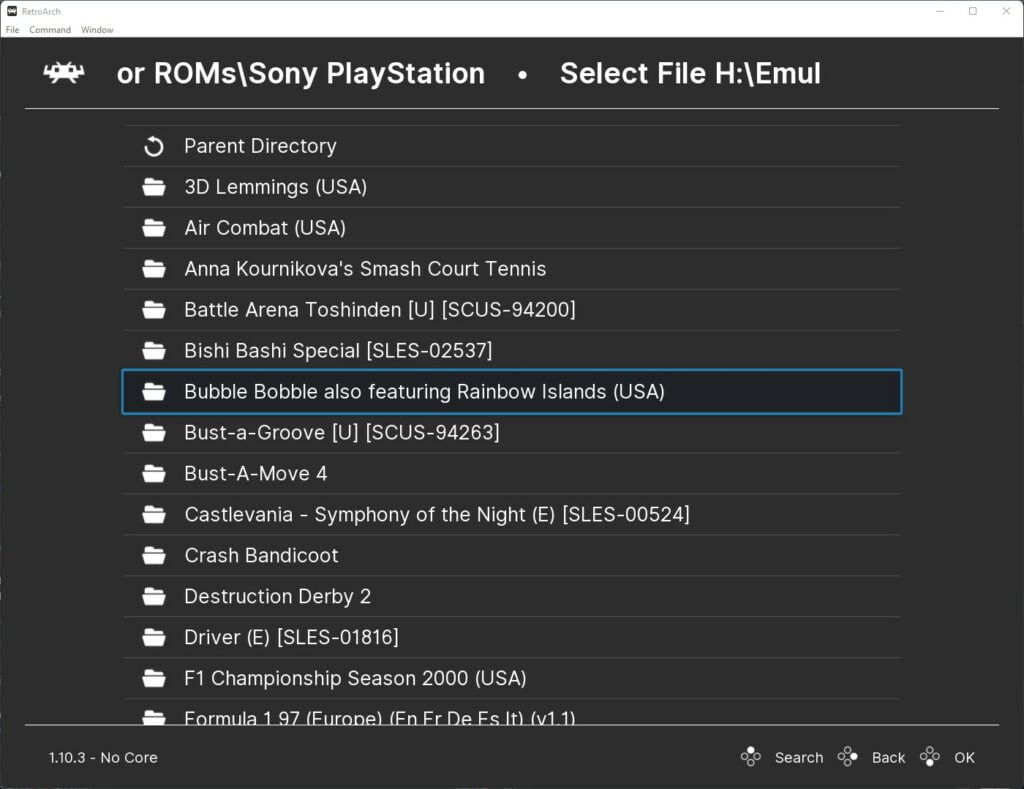
SwanStation will now kick into life and the game will boot.
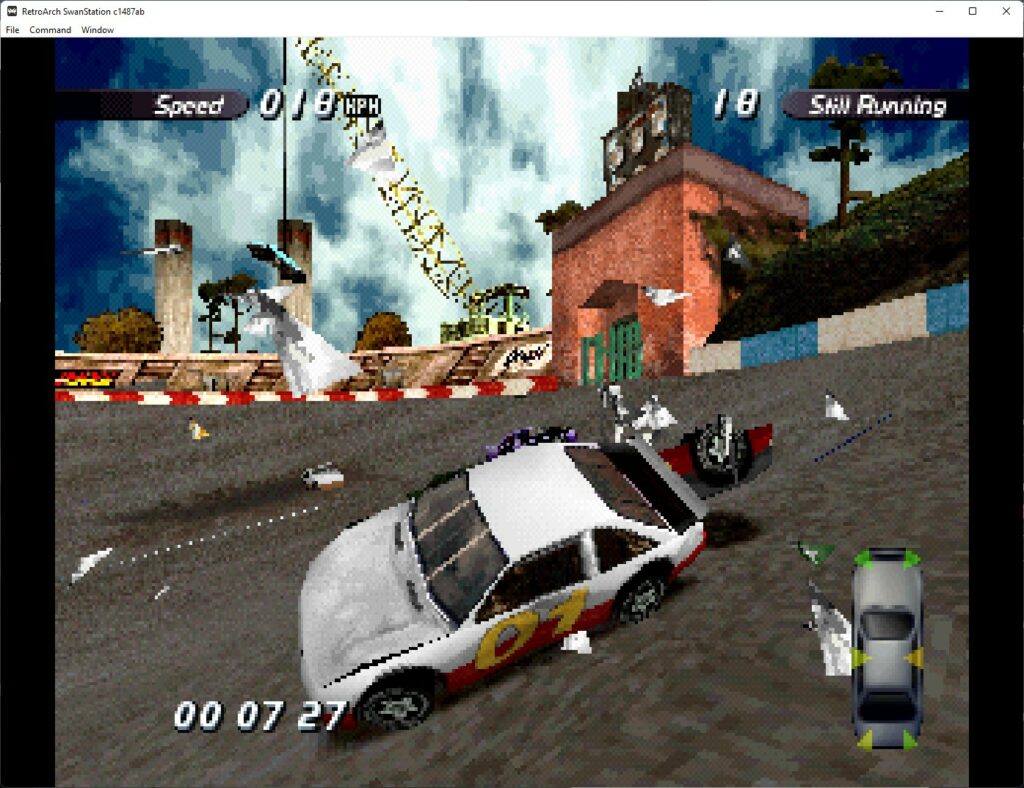
And that is the quickest way to play PS1 games with RetroArch and the SwanStation core.
The SwanStation core has a wide range of enhancement options available, to access these settings, press F1, then scroll down and select ‘Options’, then select ‘Enhancement Settings’.
Here you can access everything from the internal resolution scale through to multisample antialiasing settings, making your PS1 games look far less jagged and upscaled!

As a retro gaming & retro computing enthusiast, I enjoy sharing help guides and about retro gaming in general, when I have the spare time to do so!