When Nintendo released the Nintendo 64, or N64 as it is also known, it proved a tricky time for the gaming giant and was by no means a huge commercial success for them, mainly when the likes of the Sony PlayStation ate into their market share. But they retained the hardcore Nintendo fans hungry for the next generation of classic Nintendo franchises.
N64 emulation has always been a tricky one too, with performance varying between different emulators and systems. But now, N64 emulation is in a good state, especially with N64 emulation on the PC.
In this guide, we’ll take you through the steps on how to play N64 games on PC, taking you through any requirements, selecting the best N64 emulator, and steps to be playing your old favourites looking better than ever before.
What do I need to play N64 games on my PC?
Here is what you’ll need for the most enjoyable N64 emulator experience:-
- A Windows-based PC or laptop
- A Controller (You can use keyboard controls, but that’s just awkward, isn’t it!).
- An N64 Emulator – We’ll be using Project64 for this guide, download link is in the first step below.
- An N64 game ROMs – These are typically .n64, .v64, .z64 or .bin files.
Step 1 – Download an N64 Emulator For PC
To be able to play N64 games on your PC, you are going to need an N64 emulator.
One of our favourite N64 emulators for PC is Project 64. we will be using Project64 in this guide.

Project64 has everything you need to enjoy your N64 games on your PC, it is full of features that allow you to improve N64 games visually on your PC and simple to-understand controller configuration. Project64 is a really accessible emulator that offers great performance.
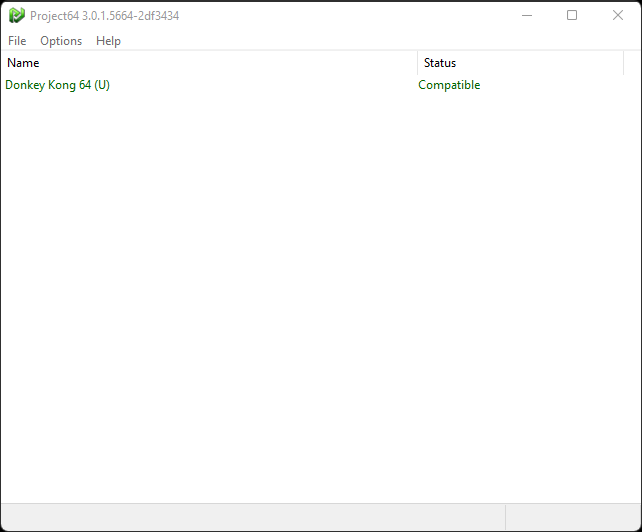
Once you have downloaded Project64, install it and start the application.
Step 2 – Download An N64 Game ROM
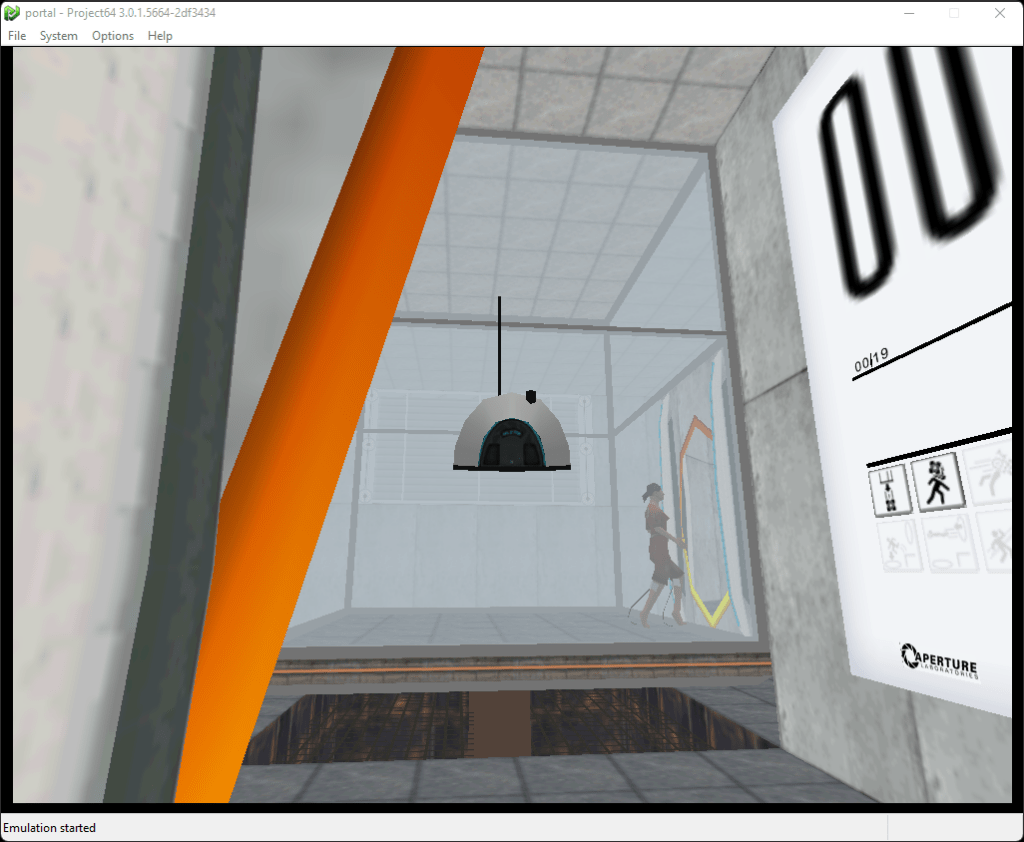
It is up to you what N64 ROMs you look to use with Project64, but we recommend that when following this guide, use this version of the PC Game, Portal, which has an N64 homebrew port.
N64 ROMs typically have a .n64, .v64, .z64 or .bin file extension.
Download the .z64 file via the above link.
Step 3 – Project64 Controller Settings
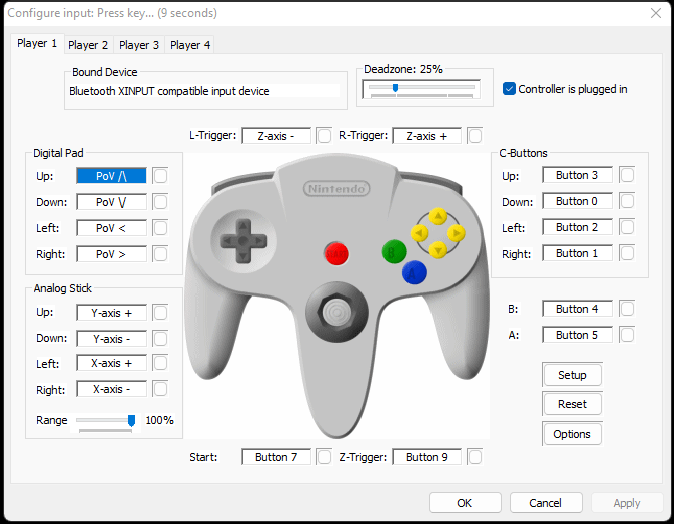
Many emulators will automatically configure controllers, but with Project64 you will need to plug in your controller, then map the N64 controls on your controller manually.
This is easy to do with the visual interface Project64 has for controller setup.
To configure your controller in Project64 follow these steps.
- Ensure your controller is connected to your PC, either wirelessly or by USB.
- Go to ‘Options -> Input Settings‘ in the Project64 menu.
- Press the Setup button, this will then begin the remapping process starting with the Digital Pad ‘Up’ button. Press the’ up’ direction on your d-pad, you will then see the button label is then changed to that for your controller.
- Project64 will then take you through each button one at a time to remap, so continue until each control for the on-screen N64 controller has been mapped to your controller.
- If you make a mistake and need to correct a button map, finish the initial button mapping process, then click the little square box next to the button you wish to remap, this will allow you to remap a single button.

Once you have assigned the controls as required, you will now be able to play games using your controller.
Looking For an N64 Emulator Controller?
If you do not already have a controller, then we recommend the 8BitDo Pro 2 controller. This is one of the most versatile and value-for-money controllers available at the moment. It will serve you well with pretty much any emulator as well as can be used on a wide range of systems from PC, Mac, Raspberry Pi, as well as Nintendo Switch.
Step 4 – Load An N64 ROM & Play The Game
All that’s left to do now is load a game using the homebrew ROM you downloaded in step 2.
To load an N64 ROM in Project64, follow the below steps:
- Select ‘File -> Open Rom‘ from the Project64 menu.
- Select your N64 ROM file to load.
- Either double-click the file or click and select ‘Open‘.
- Your N64 game will then boot and you’re ready to play!
That’s all it takes to play N64 games on PC!

Project64 has stacks of options to improve your N64 gaming experience, including comprehensive graphics settings to get those N64 games looking sharp and upscaled to modern displays.
One of the most simple and useful aspects of Project64 is the save state feature, allowing you to save your game’s exact point in time and return to that precise location by reloading the save state. This feature is especially useful when you’re having trouble defeating a challenging end-of-level boss.
Furthermore, the cheat code functionality takes things to the next level, giving you the ultimate solution to conquer a game. With Project64 cheat codes, you can cheat and hack your way to completion.

As a retro gaming & retro computing enthusiast, I enjoy sharing help guides and about retro gaming in general, when I have the spare time to do so!