This RetroArch Steam setup guide will take you through the basic steps of downloading, installing, and configuring RetroArch as part of a Steam installation.
Retroarch is already well-established within the emulation community, but why not make it part of your Steam library? It makes access just that little bit easier if you already spend most of your time in the Steam ecosystem.
Requirements
Here’s what you’ll need before we begin:
- You’ll need to have a Steam account to login to Steam and download RetroArch – You can create an account on the official Steam site
- Have at least one game ROM/Image that you can use with RetroArch – In this guide, we’ll use the Sega Mega Drive / Genesis as an example.
- To play games, you will need a controller – You can test yourself by using keyboard controls, but why not make life easier by buying a decent controller The 8bitdo Pro 2 Bluetooth Controller is an excellent controller and can also be connected by USB.
Step 1 – Install Steam
This first step is pretty obvious and if you are reading this guide, it’s more than likely you already have Steam installed.
If not, visit the Steam website, and click the ‘Install Steam’ icon at the top of the page.
Follow the instructions it then gives you to install the Steam client onto your computer.
You will then need to log in to Steam with your existing account, or if you do not have an account, you’ll need to register an account, then you’ll be able to sign in.
Once you have signed in, the Steam client will appear as below:-
Step 2 – Install RetroArch
Next, we need to download RetroArch from the Steam store.
Go to the Steam store by clicking the ‘Store’ link at the top of the Steam client, then in the search bar, search for ‘RetroArch’.
You will then see a list of RetroArch and additional RetroArch emulation cores appear in the results.
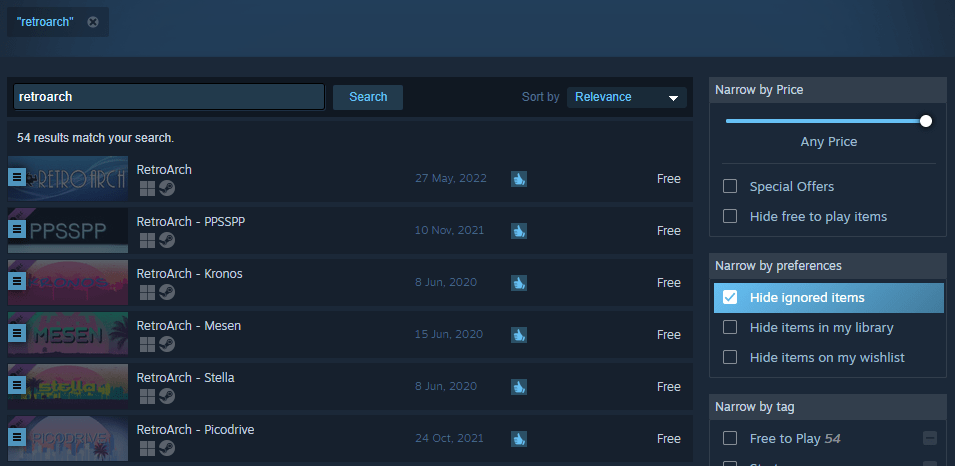
First of all, we want to install just RetroArch, so click the ‘RetroArch’ application in the search results, then scroll down until you see the options Play Game / Add to Library.
Click ‘Add to Library’ so that RetroArch is added to your Steam library.

Then click the ‘Library’ link at the top of the Steam client to go to your Steam library.
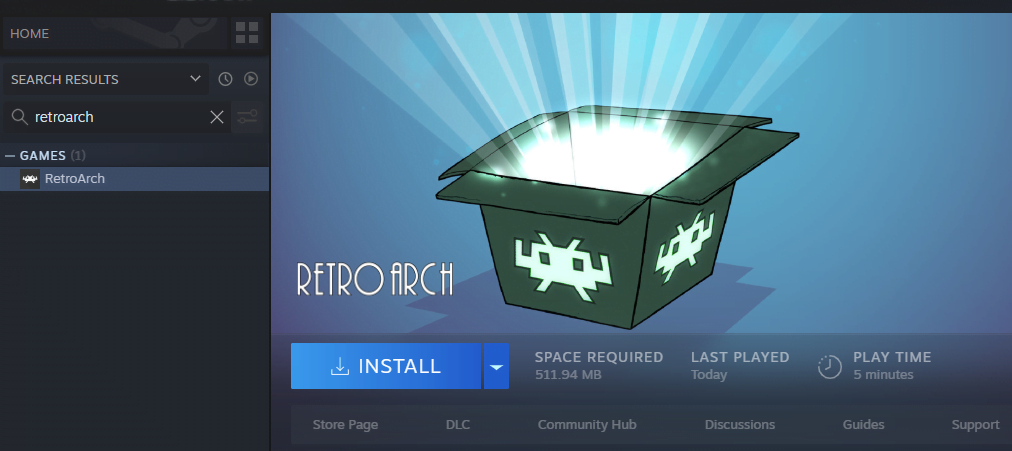
Search for RetroArch in the search box on the left-hand side, then click the RetroArch app from the list and then click the large ‘Install’ button as pictured below.
Follow the onscreen instructions and this will now install the Steam version of RetroArch onto your computer.
Step 3 – Install An Additional Emulator Core
The main difference between the regular version of RetroArch and RetroArch on Steam is that the emulator cores are available as free DLC content within Steam itself.
So, for example, if you want to install Genesis Plus GX to play some Mega Drive / Genesis games, you’ll need to go to the Steam store, search for RetroArch, then locate the ‘RetroArch – Genesis Plus GX

Or alternatively, visit the ‘DLC’ section for the RetroArch app itself in steam to see all the available emulator core DLC packages.
For this example, we’re going to use the Genesis Plus GX core, so locate this DLC in steam, then scroll down the page until you see the ‘Download’ button. Click download to install this core to RetroArch.

Step 4 – BIOS Files In RetroArch Steam
Whilst the Genesis Plus GX core does not require any BIOS files to play games, other emulator cores do.
For example, the Sega Saturn emulator core Kronos requires BIOS files to function correctly and boot games reliably.
If a core does require a BIOS file, these need to be placed in the RetroArch ‘system’ folder.
Since this is the Steam version of RetroArch, your RetroArch system folder will be located in the ‘steamapps’ folder which is where Steam automatically installs all games by default.
If you just installed Steam in the default location (on a PC), then the RetroArch system folder would be found here:-
C:\Program Files (x86)\Steam\steamapps\common\RetroArch\system
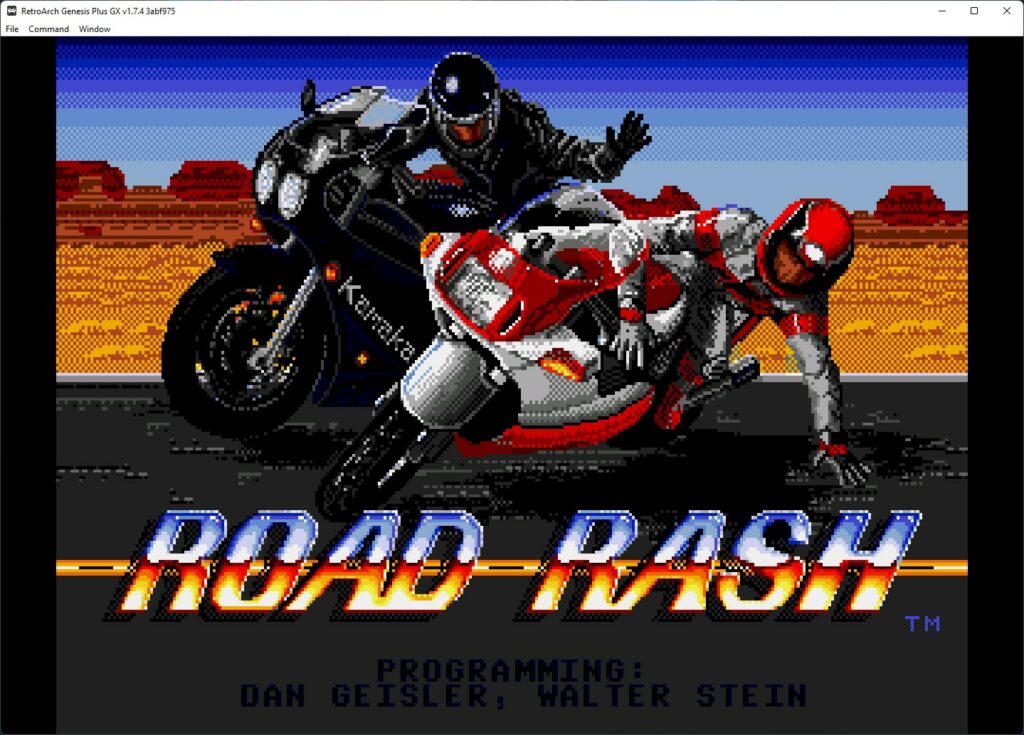
Step 5 – Boot Your First Game
To play games with RetroArch, boot up RetroArch from within Steam. You will then see the RetroArch main menu, select ‘Load Content’ and then locate your Sega Mega Drive / Genesis game ROM and select it.
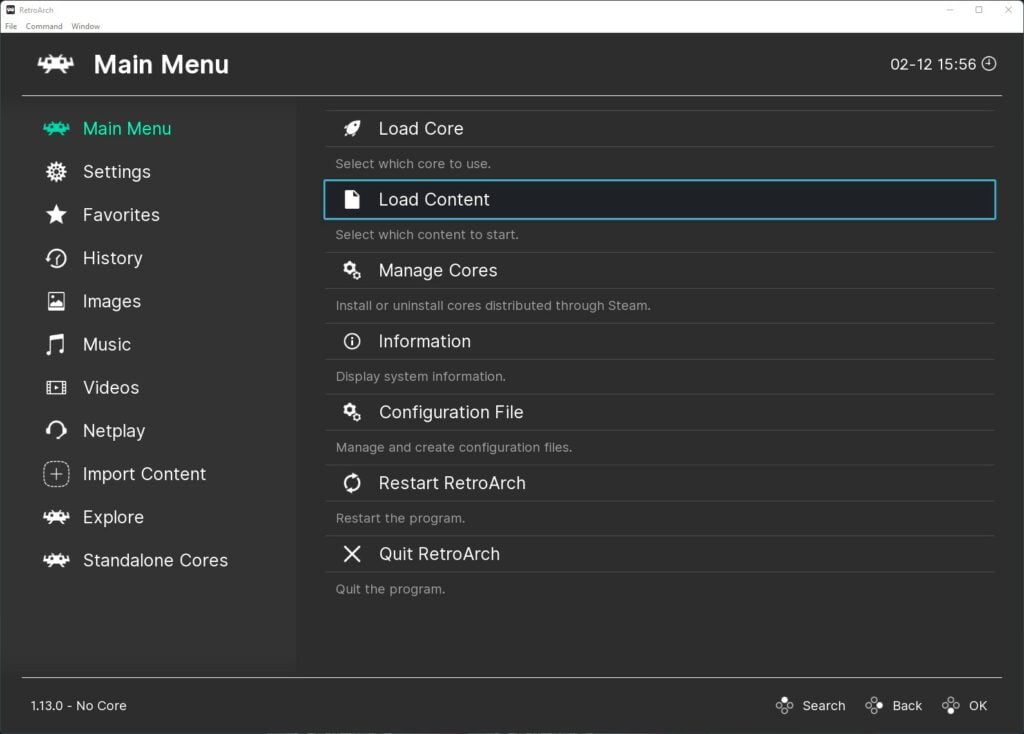
RetroArch will then boot up the game using the Genesis Plus GX core.
RetroArch is excellent when it comes to controllers being preconfigured and ready to use.
Simply connect your controller to your computer (either by USB or wirelessly) and RetroArch will automatically identify your controller and set it up for the emulator core you are using.
You can make tweaks to your controller settings in-game by pressing F1 on your keyboard (or the hotkey assigned to this function) and going to the ‘Controls’ option, here you can remap buttons and change the controller settings.
Many RetroArch emulator cores all function in the same way, so simply repeat the above steps to enjoy other retro systems.

A lifelong avid gamer and computing enthusiast, Matt has decades of Retro Gaming experience. Now over 40 years old, Matt now even considers himself retro, but fortunately, nobody has developed a Matt emulator (not yet at least!).