RetroArch is widely considered one of the best ways to emulate retro systems across many devices, but it is also a little bit daunting for beginners.
In this RetroArch guide, we show you how to user RetroArch, taking you through each step, from download and installation to configuring emulator cores.
Introduction To RetroArch
RetroArch is a versatile, open-source software designed to facilitate the emulation of a range of gaming systems. RetroArch is available for a number of operating systems, including Windows, macOS, Android, Linux, and even some gaming consoles like the PlayStation 3, Xbox, and Nintendo Switch.
Fundamentally, RetroArch operates by utilizing a modular system known as “cores.” Each core is responsible for emulating a different console or computer system. This allows RetroArch to support a huge amount of classic games, covering systems from the Atari 2600 to the Sony PlayStation 2, as well as arcade games.
RetroArch not only facilitates the emulation of the original systems but also enhances the experience by providing quality-of-life improvements and features such as shaders, netplay, rewinding, and next-frame response times.
RetroArch features include:
- Multi-system support: RetroArch is capable of emulating a wide variety of gaming systems, from vintage consoles like the NES and Atari 2600, all the way up to more modern systems like the Wii and PlayStation 2.
- Cross-platform capability: It works on numerous platforms, including Windows, macOS, Linux, Android, and even certain gaming consoles.
- Shaders: RetroArch allows you to apply a range of visual filters to your games with customisable shaders.
- Modular System (Libretro API): It employs a modular system, using ‘cores’ that act as plugins to simulate different gaming consoles.
- Customizable interface: RetroArch provides a highly customizable user interface that users can modify to suit their preferences.
- Advanced features: It includes advanced gaming features such as netplay for online multiplayer, rewinding, next-frame response times, runahead to reduce latency, shaders, and more.
- Save states: RetroArch supports save states, allowing you to save your game progress at any point and return to it instantly.
- Controller support: It offers broad controller support, meaning you can use a variety of game controllers with RetroArch to play your games.
- Recording and streaming: It provides options for recording gameplay and streaming it online.
- Accessibility: RetroArch has features designed for accessibility, including touchscreen controls and large text options.
- Multi-language support: It supports a wide range of languages, allowing users from different regions to use the software comfortably.
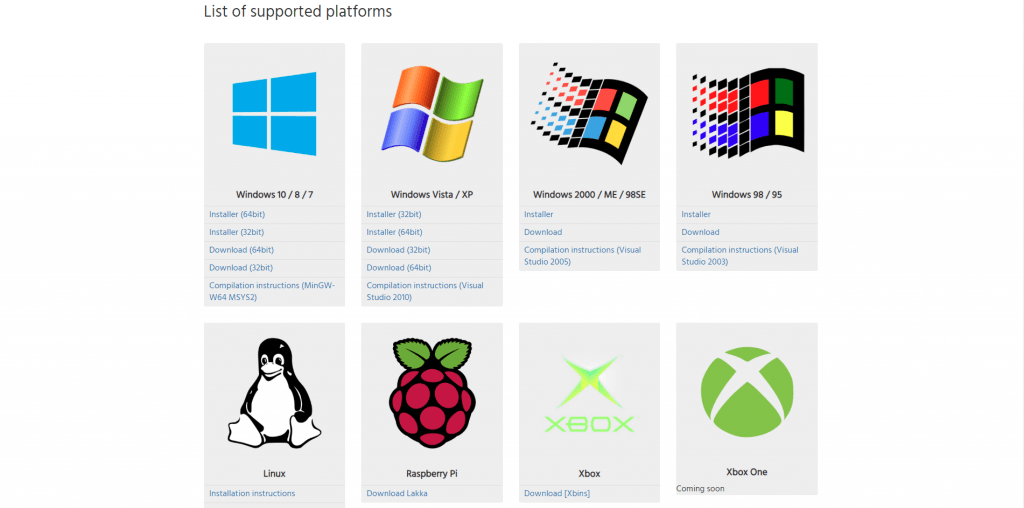
Step 1 – Download RetroArch
Visit https://www.retroarch.com, go to the downloads page and download the installer file. (If you are unsure whether to install the 64bit or the 32bit version, press the Windows key and Pause Break together on your keyboard, this will bring up the Windows System Control Panel – Here you will see under ‘System Type’ which version of Windows you have installed. Simply download the version which matches your installed Windows type listed here.
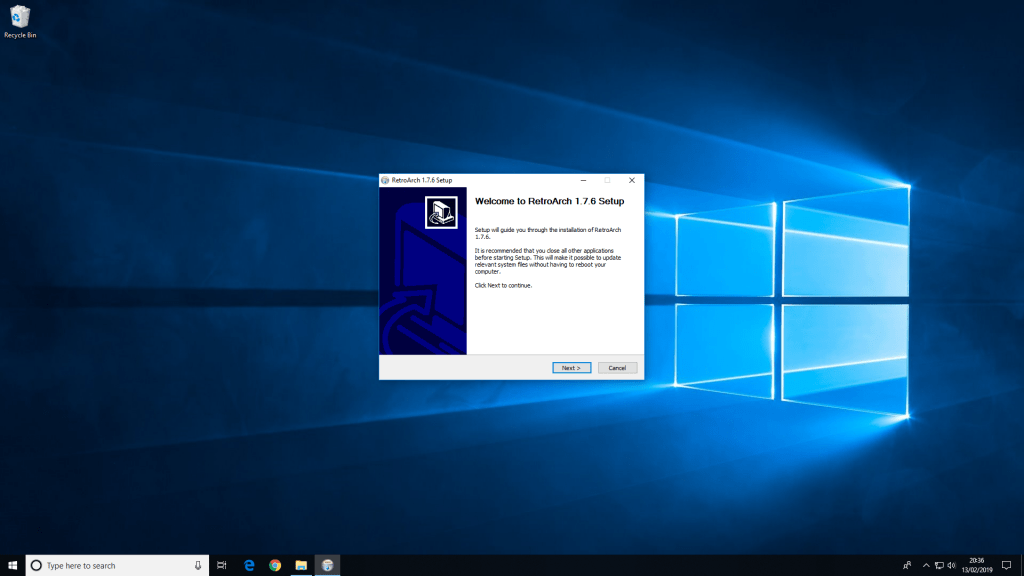
Step 2 – Install RetroArch
Once you have downloaded the RetroArch installer file, open it and proceed with the installation.
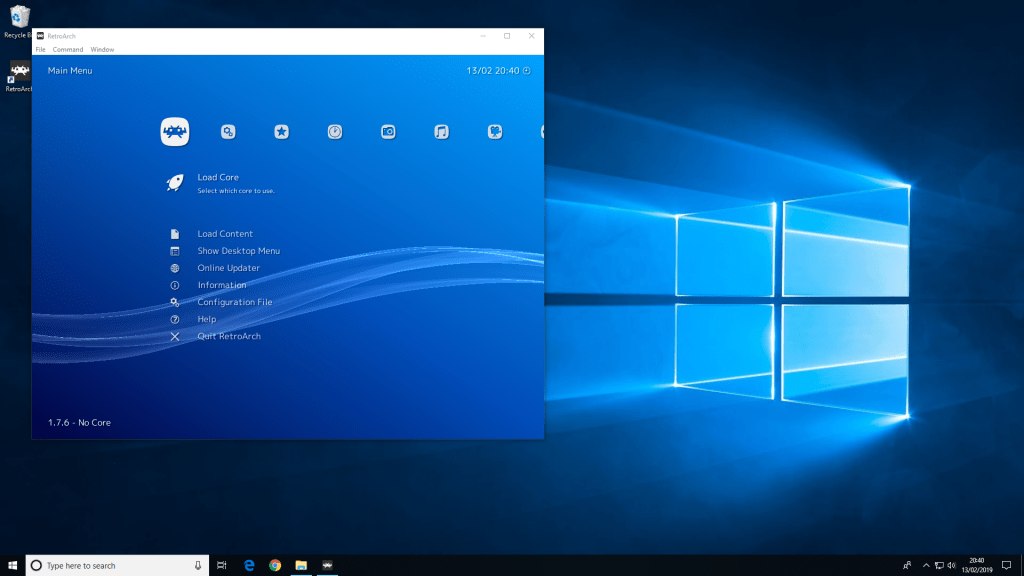
Step 3 – Open RetroArch
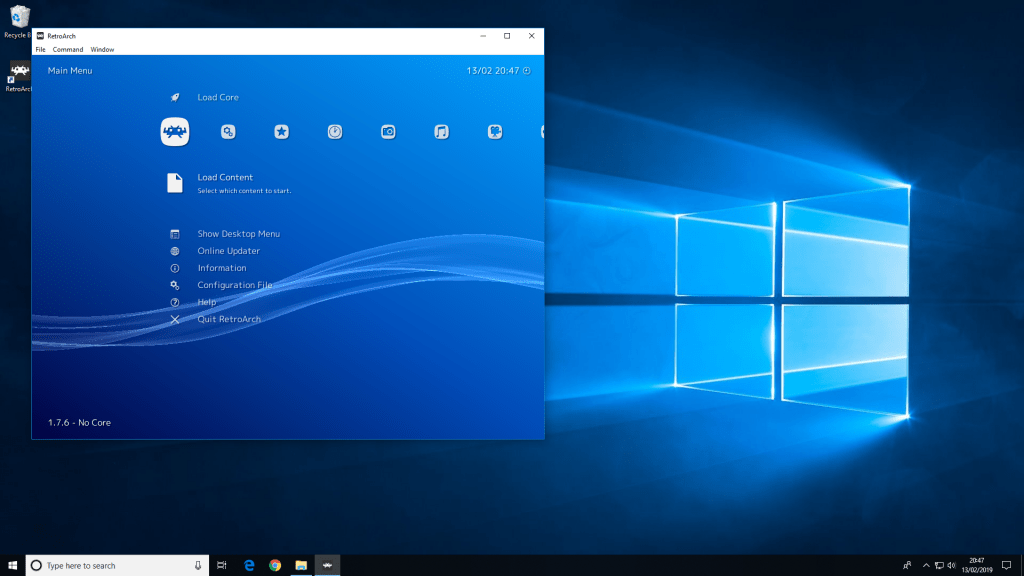
Once you have successfully installed RetroArch, open the application and you will be presented with the main menu. You can navigate around the menu via your keyboard or any controller that may already be connected (RetroArch will auto-configure a number of wired and wireless controllers).
Basic navigation with the keyboard is easy though. Use the arrow/cursor keys to move around the menu, press return to select a menu option, and backspace will take you back a step to the previous menu/selection.
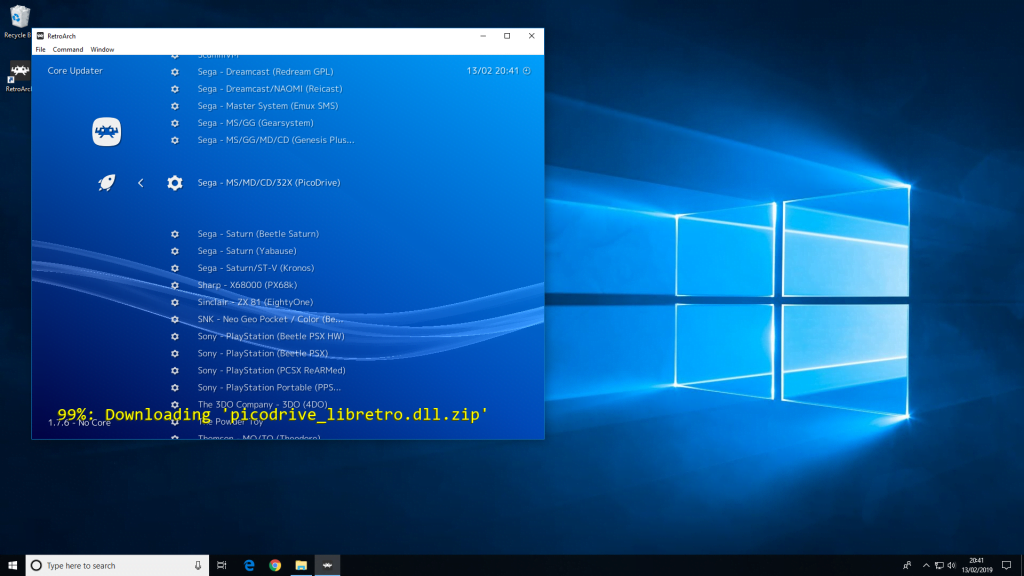
Step 4 – Installing your first Emulation ‘Core’
This simply means you will now install the emulator of your choice. In this example, we are going to download a libretro core that emulates a number of Sega systems, including the Sega MegaDrive/Genesis. You need to select ‘Load Core’ from the first menu (The one with the Space Invader-like icon), then scroll down and select ‘Download a Core’.
This will take you to a long list of emulation cores where all the system names for them are listed. We want to scroll down to the core which is called ‘Sega – MS/MD/CD/32X (PicoDrive). PicoDrive is the name of the emulator core which will power our MegaDrive/Genesis emulation. Select this core by pressing return, you will notice the yellow text at the bottom of RetroArch confirming the download of the emulation core.
Step 5 – Booting A Game In RetroArch
Now you have the emulation core installed, You’re essentially ready to go! Fortunately, RetroArch automatically configures many controllers, so if you already have your controller connected, there is a good chance you’re ready. If you find your controller is not responding, visit https://docs.libretro.com/guides/input-and-controls/ for details on how to configure controls manually.
So, here is the (potentially) tricky part, you may be asking “Where can I download a game a ROM/ISO?”. A ROM/ISO is a copy of the game cartridge/tape/CD/DVD which can be loaded into the emulator to play.
Downloading game ROMs as you may already know is a contentious area, but generally speaking, a good place to start is to own the actual game prior to hunting down a copy of the ROM/ISO. We cannot directly recommend any sites or resources for these materials, but a quick search online will soon make things apparent!
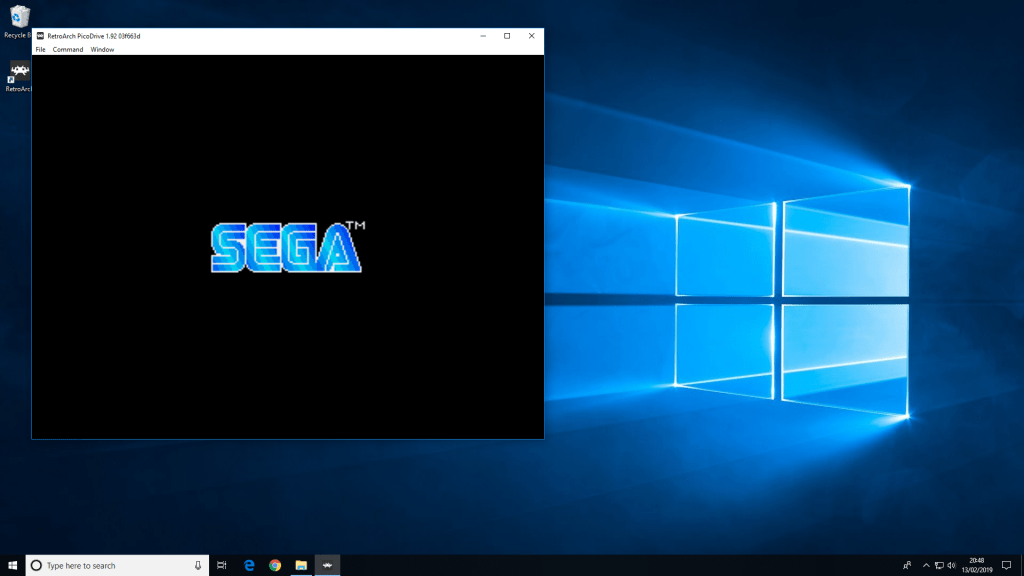
Let’s assume you have a MegaDrive/Genesis game ROM to load into the PicoDrive core. All you need to go back to the main menu and select ‘Load Content’. Next, select the drive (e.g. C:) and locate where the file is stored. Once you have found the file, select it and the game will load.
Step 6 – Play The Game
That is it. A few simple steps and you’re ready to go!
The game will then load in windowed mode. If you want to switch between windowed and full-screen mode, press ‘F’ to switch between the two modes.
Need a controller to play games on RetroArch? Then look no further than our recommendations on the Best Retro Controllers for Retro Gaming.

A lifelong avid gamer and computing enthusiast, Matt has decades of Retro Gaming experience. Now over 40 years old, Matt now even considers himself retro, but fortunately, nobody has developed a Matt emulator (not yet at least!).