In this guide, I’ll take you through the steps to help you play PS2 games with RetroArch. Before you start this guide, it is worth noting that the RetroArch PS2 core, PCSX2, has been renamed to LRPS2. The LRPS2 core is a little unorthodox because you will also be required to download the standalone PCSX2 emulator to get things working.
Requirements
Before you begin, please note the below requirements:
- Install RetroArch – Download RetroArch Here
- Have at least one PS2 game disc image ready to test – These are typically .iso or .bin files.
- Have the relevant PS2 BIOS files depending on what region games you wish to play – Search online for ‘ps2 scph bios’ to help you locate a BIOS file.
- Using a controller is recommended, ensure this is connected before launching RetroArch. If you don’t have a controller yet, then check out my RetroArch controller recommendations.
Download PCSX2
This first step is necessary to allow the RetroArch LRPS2 core to function properly, by using some of the assets from the PCSX2 standalone emulator.
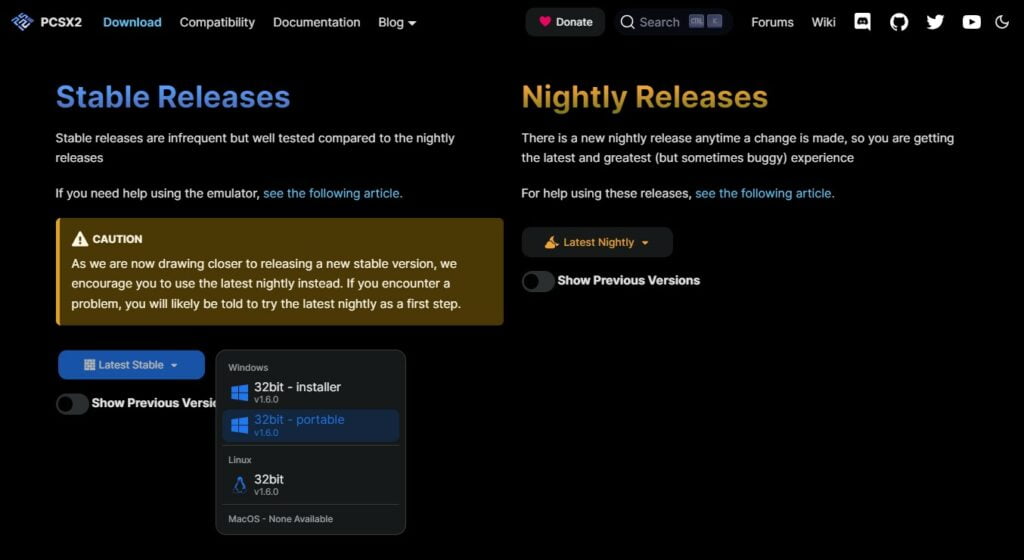
- First of all, download the ‘Portable;’ version of PCSX2 here – https://pcsx2.net/downloads/, then extract the files from the downloaded archive file into its own folder.
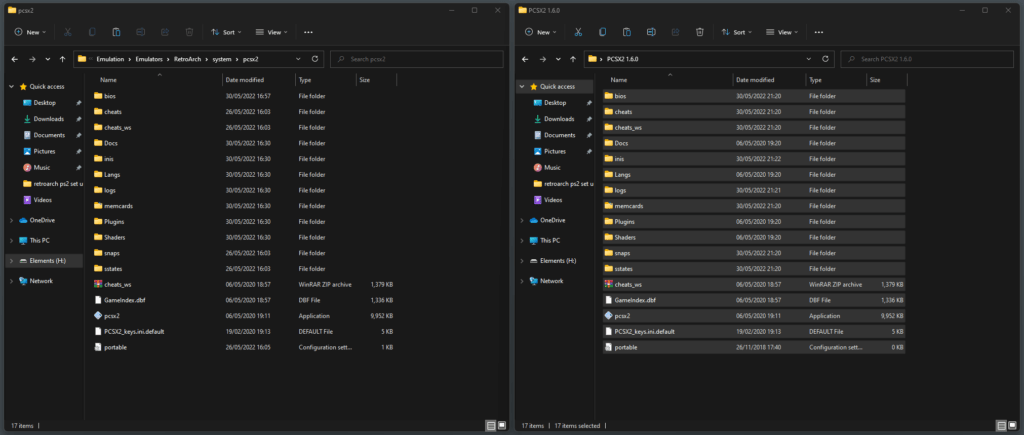
- Next, create a folder called ‘pcsx2‘ in your RetroArch ‘system‘ folder. (This can be found in your RetroArch installation directory). Open this folder and leave the window open as you will need to copy some files to it in the next step.
- Go back to the folder where you extracted the portable version of PCSX2 a moment ago, run the PCSX2 application and go through the few initial setup steps, this will then create a bunch of folders in the PCSX2 portable installation directory that you will need.
- Next, select all of the files in the PCSX2 directory, then copy them to the ‘RetroArch/system/pcsx2/‘ folder you just created.
PS2 BIOS File Download
The RetroArch PS2 core on RetroArch requires the use of a PS2 BIOS file so it can boot up games. The RetroArch documentation for LRPS2 core provides details on the BIOS files required:
https://docs.libretro.com/library/pcsx2/#bios
- If you do not have the BIOS files yet, you will need to search online for ‘ps2 scph bios‘. You will then need to find a site to download PS2 BIOS files from. You can choose from either Japanese, European or USA BIOS files, but other regional BIOS files are also available.
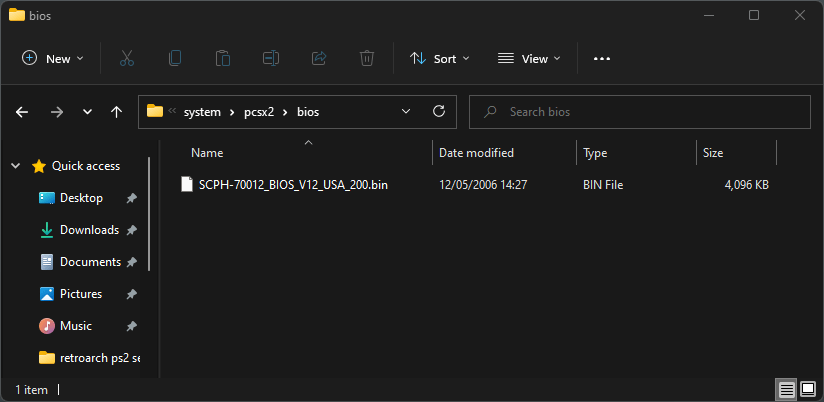
- Once you have got your desired region PS2 BIOS, you will need to copy it to the ‘RetroArch/system/pcsx2/bios/‘ folder.
LRPS2 Core Download
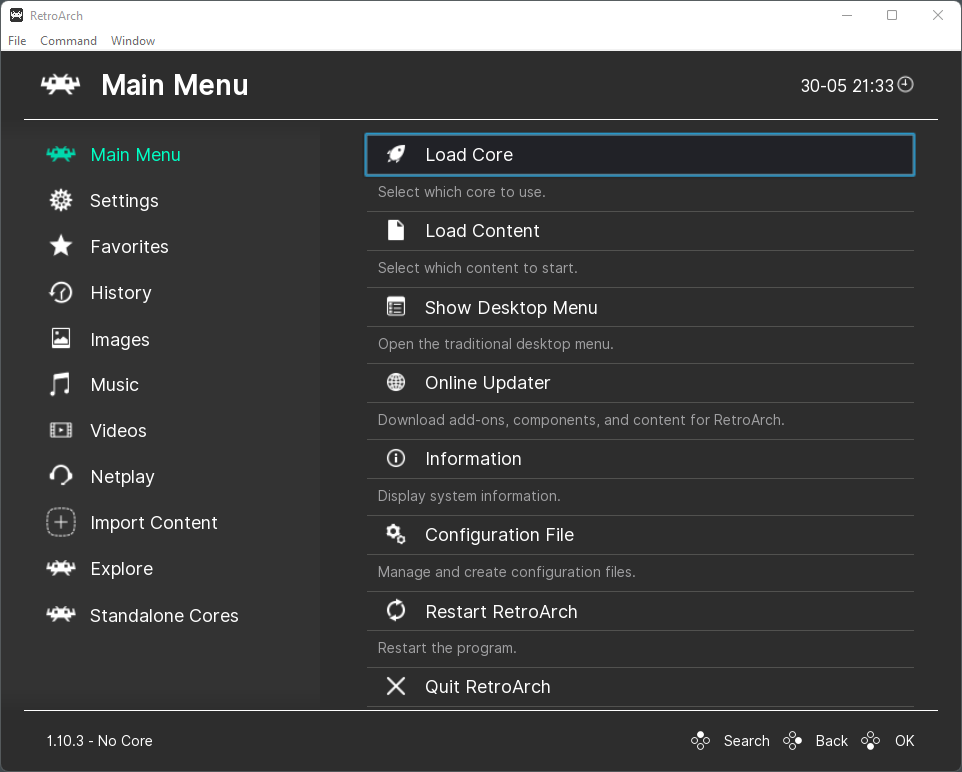
- Launch RetroArch and select ‘Load Core‘. (Note – Your RetroArch theme may differ from the one I am using, but don’t worry, the process is still the same).
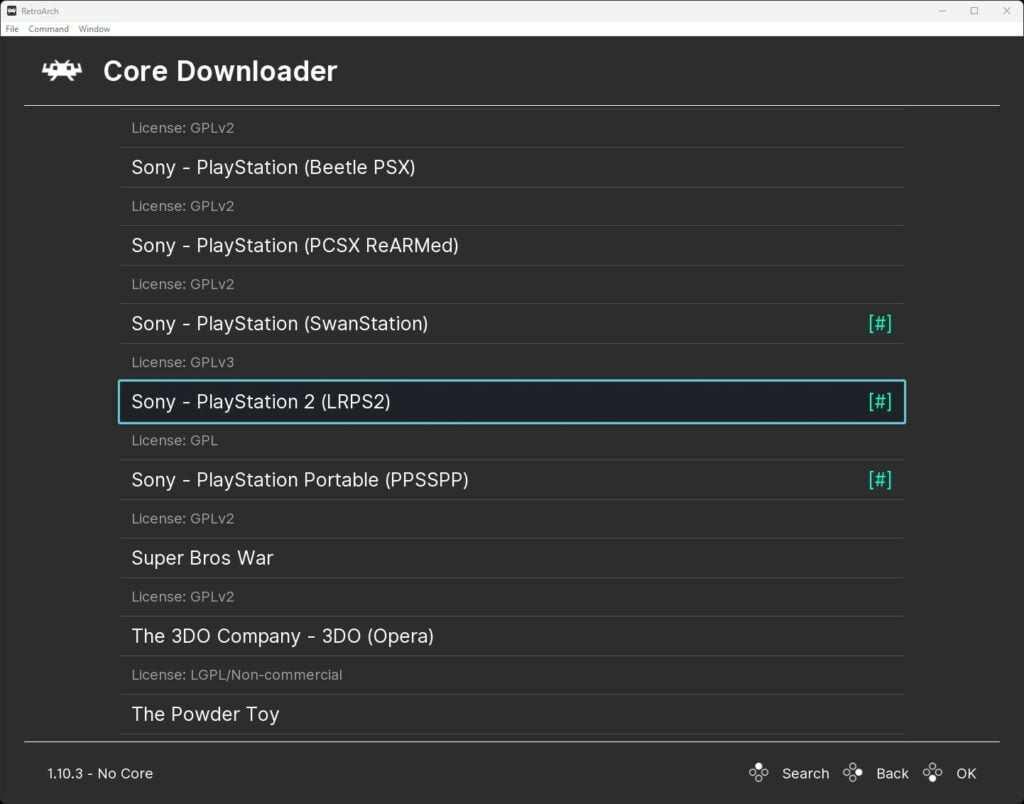
- You will then need to select ‘Download a Core‘.
- Next, scroll down the Core Downloader menu until you get to ‘Sony – PlayStation 2 (LRPS2)‘. Select this, then the core will begin to download and install automatically.
- It can also be a good idea if you are using an existing installation of RetroArch and not a fresh install, to go back to the main menu, scroll down to ‘Online Updater‘, and select ‘Update Core Info Files‘ as well as ‘Update Databases‘.
This will ensure all the essential files and databases for RetroArch are fully updated. If you are using a fresh installation of RetroArch, this will not be necessary.
LRPS2 Controller Configuration
Next, you will want to check that your controller has been recognised and is set up for use with the LRPS2 core.
- To access the control settings, go to the main menu in RetroArch, and click on ‘Settings -> Input -> Port 1 Controls‘. Here you should see your controller listed in the Device Index section – I’m using an 8BitDo Pro 2, which RetroArch automatically configures.
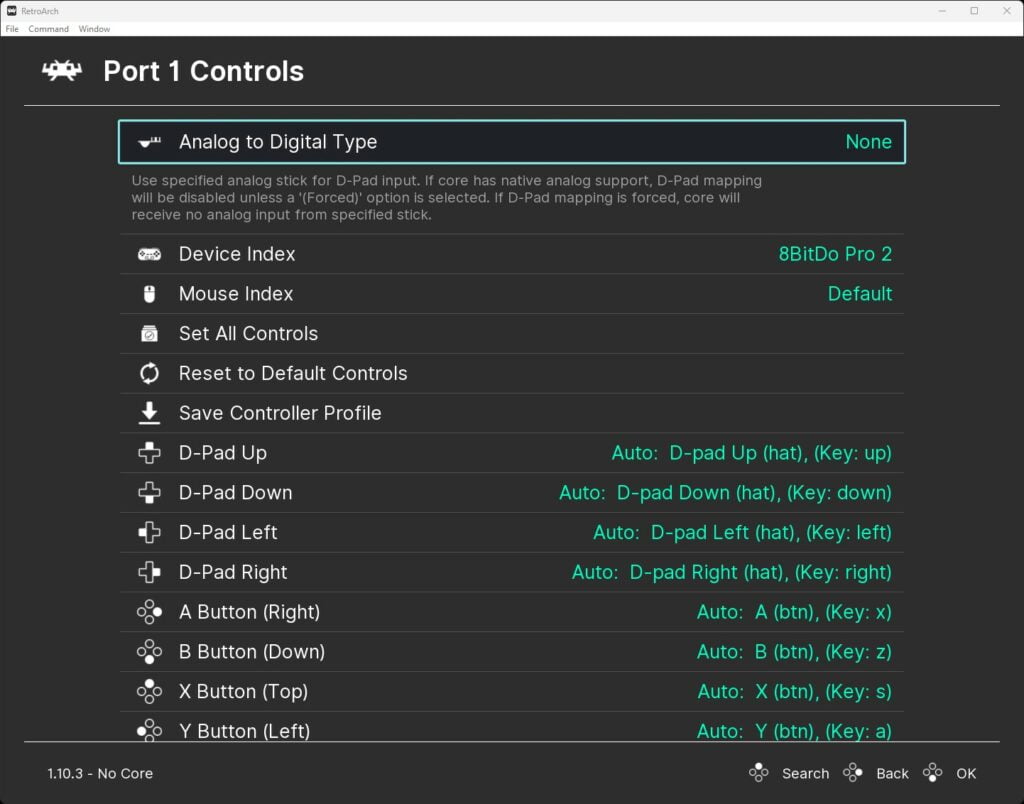
If your controller does not automatically get configured, you can map the controls in this section as required.
Booting PS2 Game In RetroArch
This is how you boot your PS2 games in RetroArch.
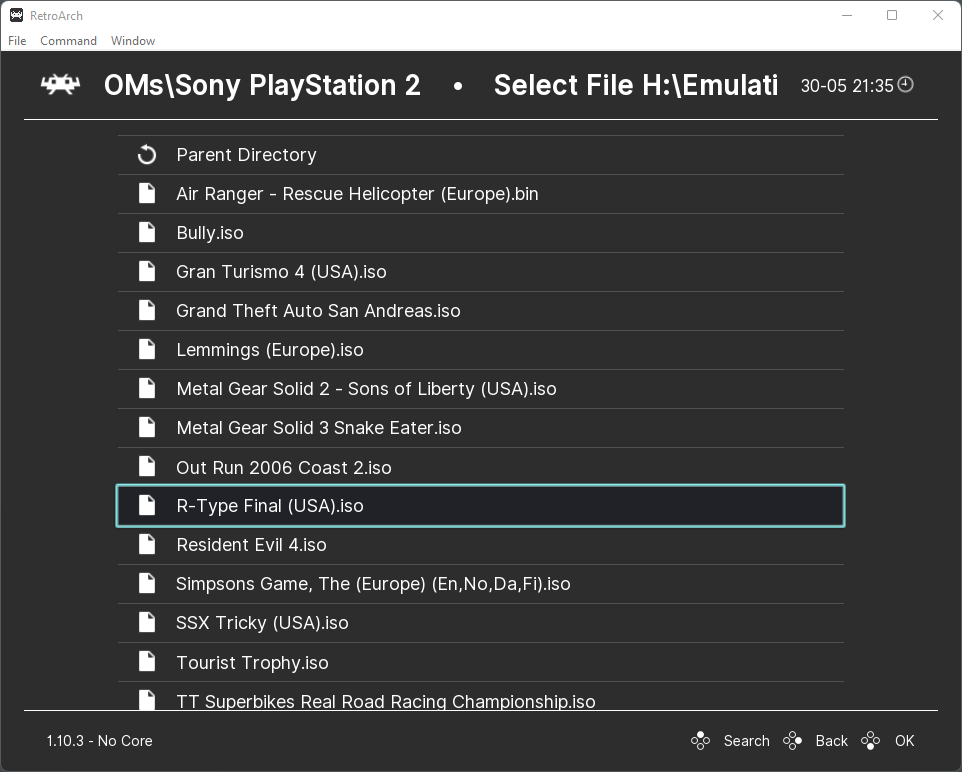
- Go back to the main menu in RetroArch and select ‘Load Content’. Then navigate to where you have your PS2 games stored. Then select the game disc image that you wish to load.
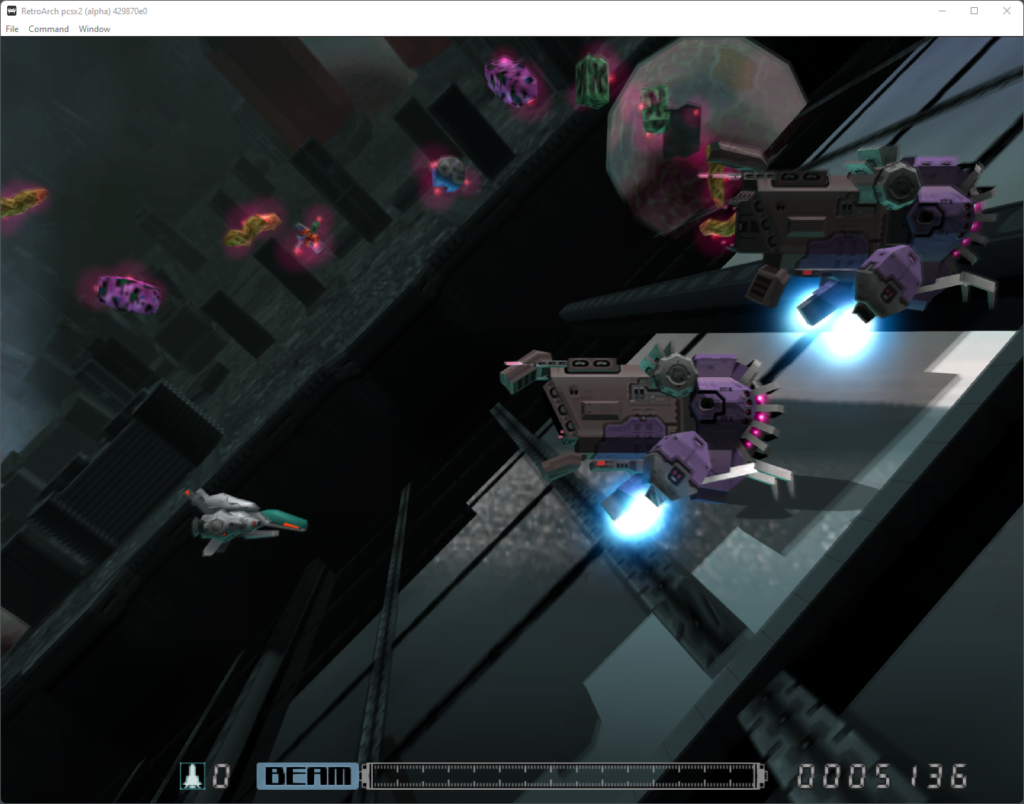
Your emulated PS2 will now kick to life and the game will boot.
Depending upon which BIOS you choose and if you have already gone through the initial set-up, the PS2 BIOS may ask you to set the console region and time. If it does, just select the settings you wish to apply and proceed, and then the game will boot.
So, that is how RetroArch PS2 emulation is made possible using the LRPS2 core. Now try to work your way through that PS2 library of several thousand games!
LRPS2 Graphics Settings
If you have a well-equipped system with a powerful GPU, then you should be able to upscale your PS2 games, all the way up to 5K resolution if required!
- Whilst you are in the game, go to the RetroArch menu by pressing F1 or the button you have assigned to go back to this menu.
- Next, go to ‘Options -> Video‘ and here you will find a range of video-related options for LRPS2.
- To upscale the resolution of your PS2 games, select ‘Internal Resolution‘ and choose the resolution best suited to your display.
Experiment with these settings and see what works best with your device as performance will vary from game to game as well as how powerful your system is.

A lifelong avid gamer and computing enthusiast, Matt has decades of Retro Gaming experience. Now over 40 years old, Matt now even considers himself retro, but fortunately, nobody has developed a Matt emulator (not yet at least!).