The NES by Nintendo was, without a doubt, the console that brought back gaming after the disastrous video game crash of 1983 in the US. It launched Nintendo into the household name it is today and people still love to play the old NES classics.
RetroArch is one of the best places for NES emulation, along with the Nestopia core, you can be up and running in no time whatsoever.
The Nestopia core is what we will be using today in this RetroArch NES set-up guide.
Requirements
- Install RetroArch – Download RetroArch Here
- Have at least one NES game ROM ready to test – These are usually .nes, .fds, .unf & .unif files.
- To play games, you will ideally need a controller – You could use keyboard controls, but you’ll have far more fun using a controller! The 8bitdo Pro 2 Bluetooth Controller is an excellent all-around controller for emulation and can also be connected by USB for even better performance in terms of latency.
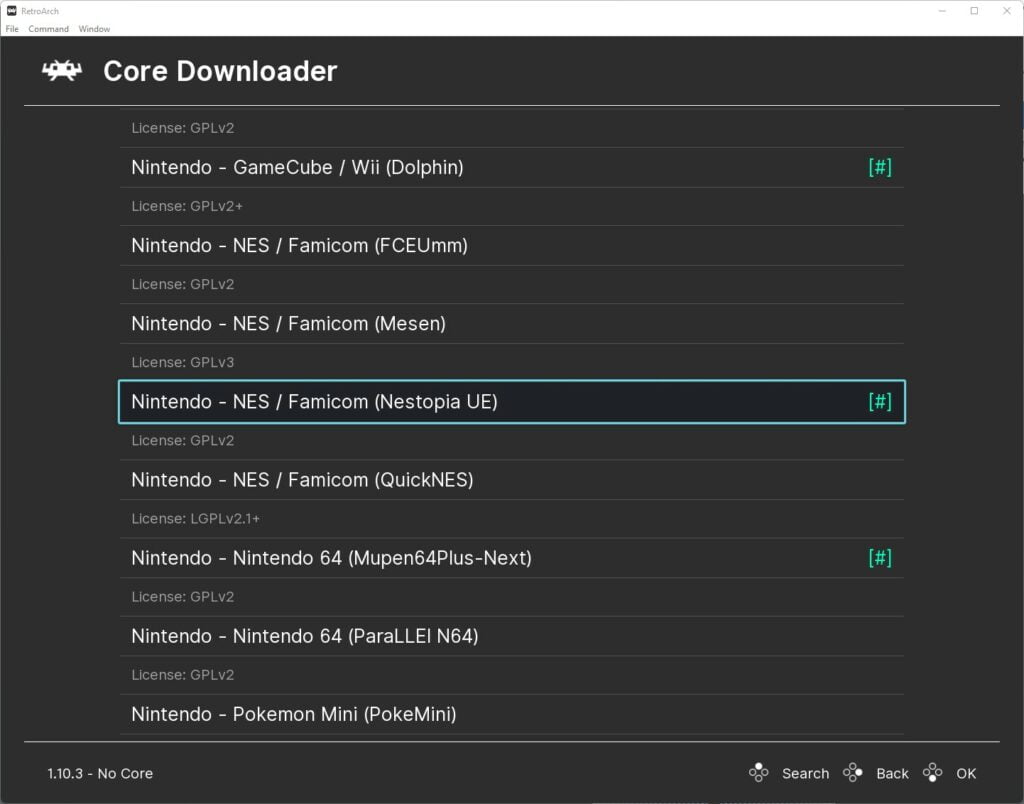
Step 1 – Download The Nestopia Core In RetroArch
First of all, you will need to download the Nestopia UE core in RetroArch.
Boot up RetroArch, then select ‘Load Core’ and go to ‘Download a Core’.
Next, scroll down the Core Downloader list until you get to ‘Nintendo – NES / Famicom (Nestopia UE)’. Select this and the Nestopia UE core will download and install.
If RetroArch is already installed on your system, be sure to also go back to the main menu, scroll down to ‘Online Updater’ then select ‘Update Core Info Files’ and ‘Update Databases’.
This will update all key files and databases in RetroArch reducing the potential for any issues.
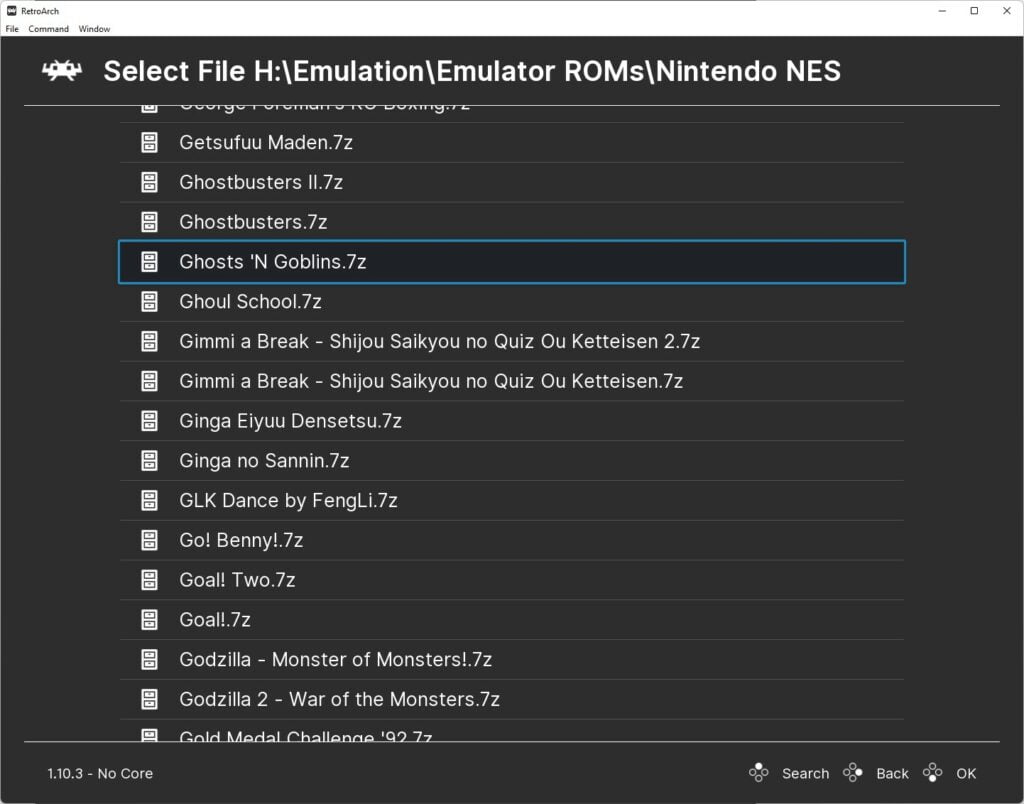
Step 2 – Select An NES Game To Play
And you are good to go! Unbelievably easy wasn’t it? We are now ready to load our first NES game in RetroArch using the Nestopia core.
So, go back to the main menu and select ‘Load Content’.
Then navigate to where you are storing your NES ROMs and select the game ROM you wish to play.
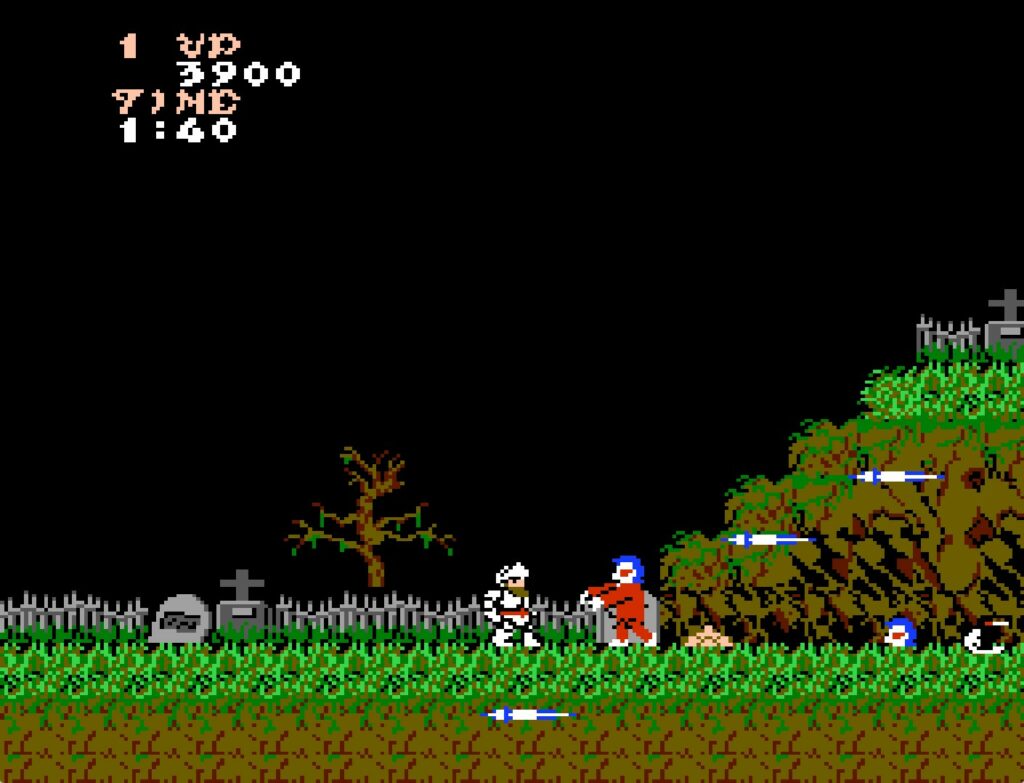
The game will now boot up and you are ready to play.
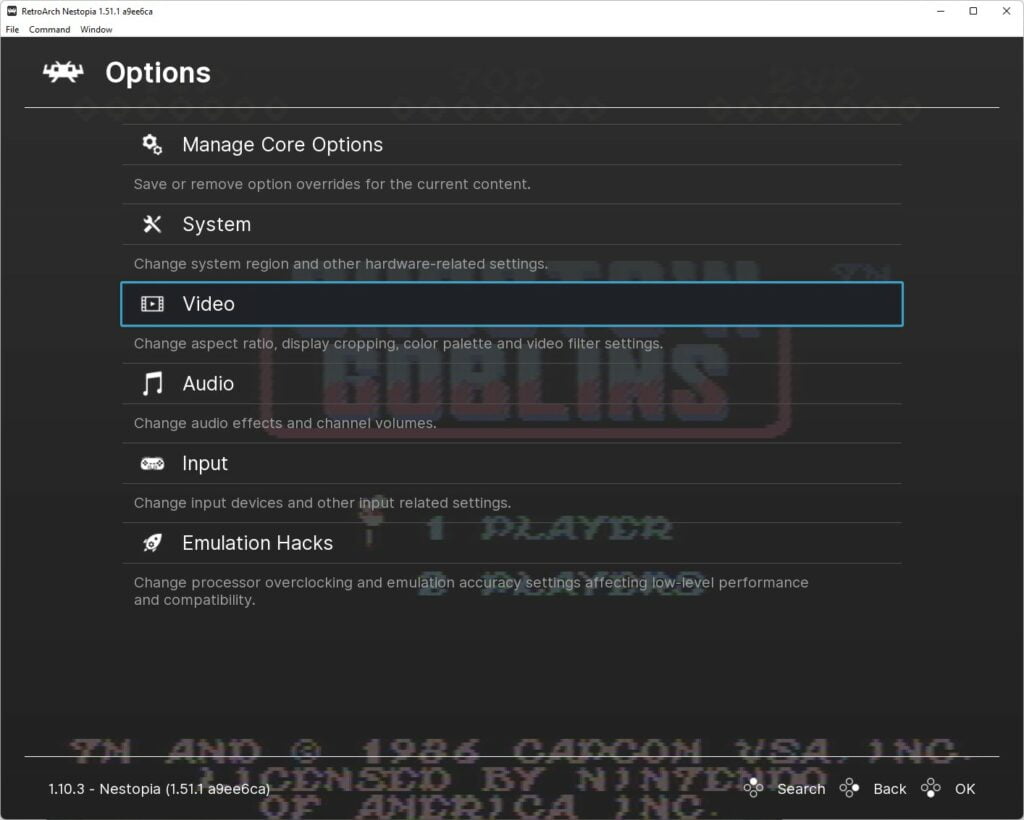
Step 3 – Nestopia Core Settings
The Nestopia core has plenty of useful settings to help get your NES emulation experience tweaked to perfection.
Some of the cool features include video filters that simulate old CRT screens and connections such as Composite Video, S-Video, RGB SCART and monochrome visual effects, for the ultimate nostalgic experience!
Other nice tweaks include removing the NES sprite limit of 8 sprites per scanline, which eradicates sprite flicker, as well CPU as overclocking functions.
To access these settings, press F1 or the hotkey you have set up to pause emulation to access the quick menu in RetroArch, then scroll down the menu until you get to and select ‘options’.
This will then give you access to all the Nestopia core emulator options, including those detailed above.
All features for Nestopia are fully detailed in the RetroArch Nestopia UE Core Options documentation.
RetroArch NES FAQs
Does Nestopia UE Support The Famicom Disk System?
Yes, Nestopia supports the Famicom Disk System images. These are .fds files which can be loaded in the same way .nes files are in Nestopia UE.
Does Nestopia Support NES Zapper & Light Gun Games
Yes, Nestopia supports NES Zapper & Light Gun games.
You can even choose to use the mouse to simulate the zapper, controlling on-screen cross hairs with your mouse and using the mouse button to fire.

A lifelong avid gamer and computing enthusiast, Matt has decades of Retro Gaming experience. Now over 40 years old, Matt now even considers himself retro, but fortunately, nobody has developed a Matt emulator (not yet at least!).