Mattel released the Intellivision video game console in 1979, a year after starting its development. This timeline meant that Intellivision was created in close proximity to its primary rival, the Atari 2600, which had been introduced just a year earlier.
Intellivision emulation is not in huge demand, but fortunately, there is a good RetroArch emulation core in the form of FreeIntv which is a simple, but very effective Intellivision emulator.
The FreeIntv core is what we will be using in this RetroArch Intellivision set-up guide.
Requirements
- Install RetroArch – Download RetroArch Here
- Intellivision BIOS Files – You will need to obtain two required BIOS files, named exec.bin and grom.bin.
- Have at least one Intellivision game ROM ready to test – These are usually .int .rom or .bin files.
- To play games, you will ideally need a controller – You could use keyboard controls, but you’ll have far more fun using a controller! The 8bitdo Pro 2 Bluetooth Controller is an excellent all-around controller for emulation and can also be connected by USB for even better performance in terms of latency.
Step 1 – Download The FreeIntv Core In RetroArch
First of all, you will need to download the FreeIntv core in RetroArch.
Load RetroArch, then select ‘Load Core’ and scroll to ‘Download a Core’.
Next, move down the Core Downloader list until you get to ‘Mattel – Intellivision (FreeIntv)’. Select this and the FreeIntv core will download and install.

If you are using an existing installation of RetroArch, be sure to also go back to the main menu, scroll down to ‘Online Updater’ then select ‘Update Core Info Files’ and ‘Update Databases’.
This will update all key files and databases in RetroArch limiting the potential for any issues.
Step 2 – Copy Intellivision BIOS Files To ‘System’ Folder
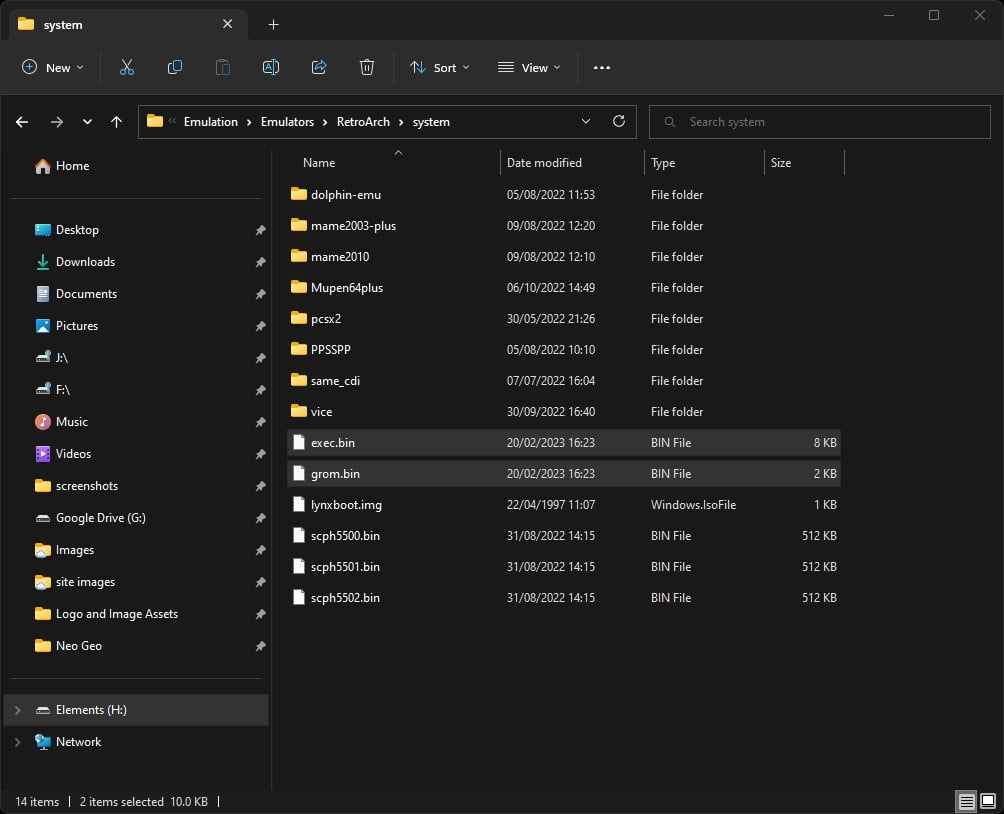
The FreeIntv core requires BIOS files to be in the RetroArch ‘system’ folder which can be found in the RetroArch installation folder.
Simply search online and download two files called exec.bin and grom.bin. then copy them into your system folder as demonstrated in the image below.
Step 3 – Select An Intellivision Game To Play
And that’s all there is to it! You are now ready to load your first Intellivision game in RetroArch using the FreeIntv core.
So now go back to the main menu and select ‘Load Content’.
Then navigate to where you are storing your Intellivision ROMs and select the game ROM you wish to play.
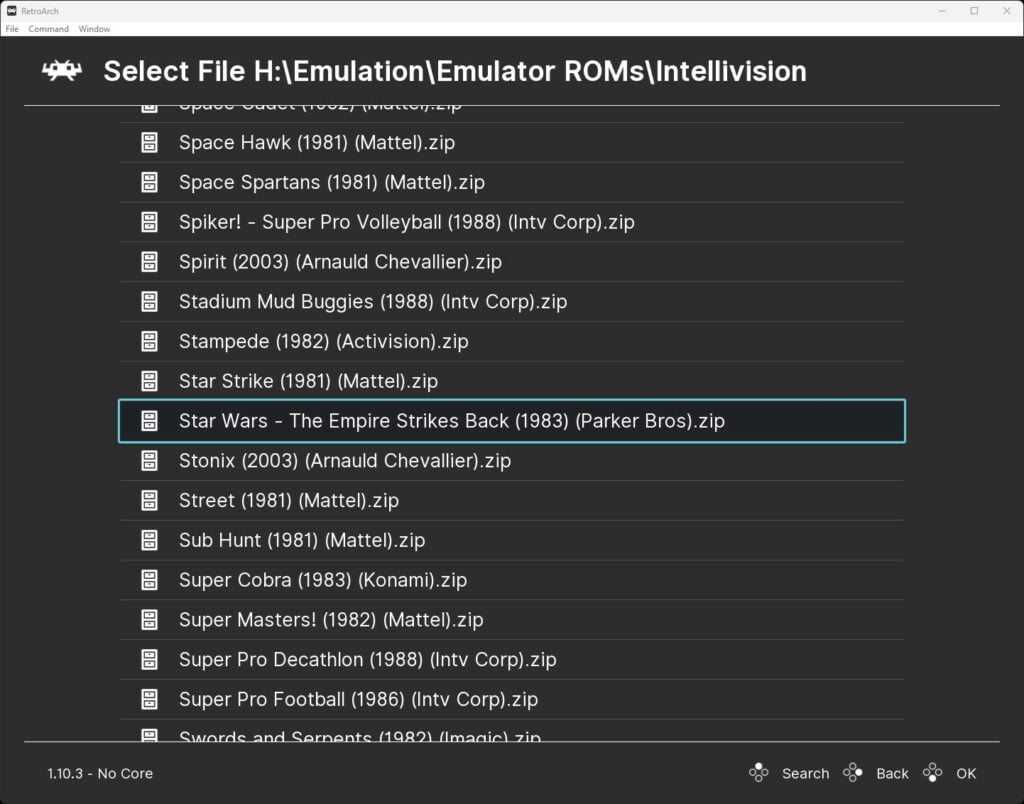
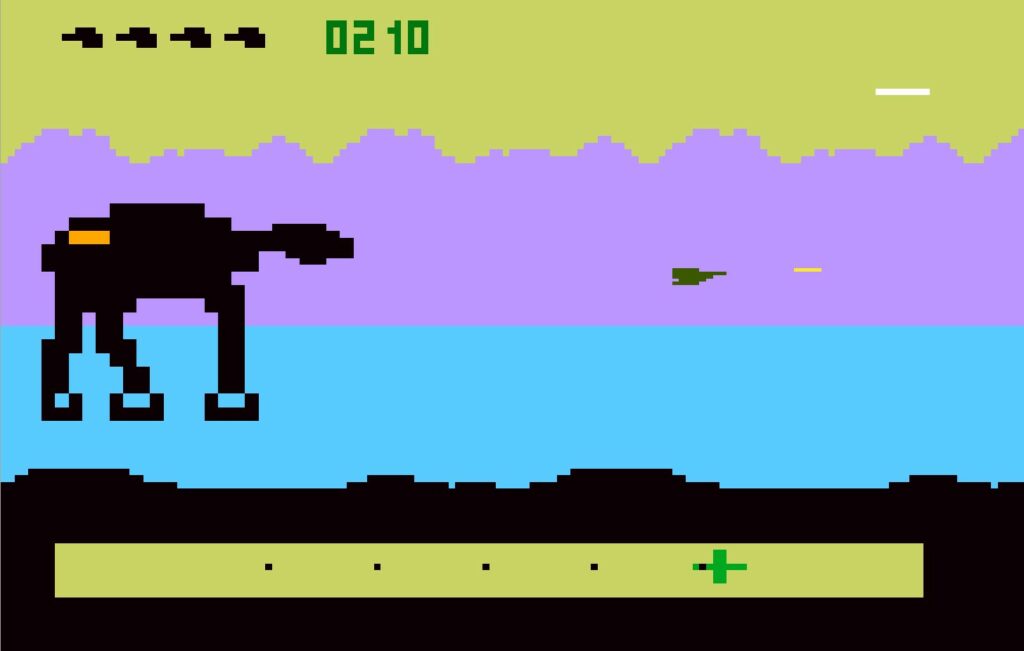
The game will now boot up and you are ready to play.
Step 3 – FreeIntv Core Settings
There are no additional core options available with the FreeIntv core in RetroArch.
Intellivision games were typically intended to be used with cardboard overlays on the Intellivision controller, these overlays provided information on the controls and were useful for understanding gameplay.
This makes controlling Intellivision games a little trickier than with other systems because of the number of buttons on the Intellivision controller. The FreeIntv core Libretro page provides details on controls as well as all other details for the FreeIntv core as well as all other details if you need more details.

A lifelong avid gamer and computing enthusiast, Matt has decades of Retro Gaming experience. Now over 40 years old, Matt now even considers himself retro, but fortunately, nobody has developed a Matt emulator (not yet at least!).